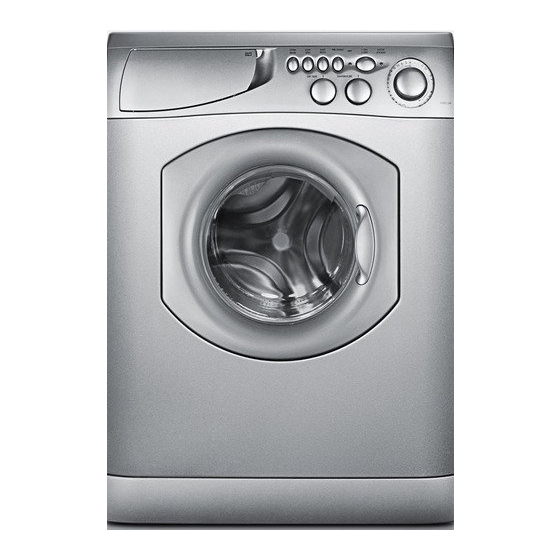
Ariston AW 125 Посібник з ремонту - Сторінка 9
Переглянути онлайн або завантажити pdf Посібник з ремонту для Пральна машина Ariston AW 125. Ariston AW 125 20 сторінок. Washer / washer-dryer combo
Також для Ariston AW 125: Посібник користувача (23 сторінок)

- 1. Table of Contents
- 2. Model & Serial Number Locations
- 3. Top Panel
- 4. Control Panel
- 5. Control Panel Components
- 6. Toe Kick & Drain Motor
- 7. Drum Boot
- 8. Door Switch
- 9. Water Valves
- 10. Heater Assembly (AWD 120 / 121 / 129 Only)
- 11. Pressure Switch
- 12. Rear Access Panel
- 13. Control Board
- 14. Main Motor
- 15. Fault Codes
- 16. Schematics
5. TOE KICK & DRAIN MOTOR
• To remove the Toe Kick, carefully insert a small screwdriver into each of the three (3) retention clips pushing each clip down and
then moving to the next clip (Fig. 5-1). With the retention clips released the Toe Kick will unsnap from the base (Fig. 5-2).
• With the two Drain Motor screws removed, carefully lay the Washer on its back and remove the four (4) Phillips screws that hold
the Bottom Pan to the frame. With the Bottom Pan removed twist the Drain Motor Clockwise to release it from its mounting. To
remove the Drain Motor remove the three (3) hose connections and wiring.
TECH TIP: The Drain Hose can be replaced through the Rear Access Panel without removing the Drain Motor, see Section 11.
REPAIR MANUAL
Fig. 5-1
• The Drain Motor is held in place with two (2) Phillips screws and a twist lock
fitting (Fig. 5-3). Remove the two (2) Phillips screws, but leave the drain motor
in place until you remove the Bottom Pan in Fig. 5-5.
Fig. 5-3
Fig. 5-5
• With the Toe Kick removed you also have
access to the Drain Clean-out (Fig. 5-4).
Fig. 5-4
AW 120 / AW 122 / AW 125
AWD 120 / AWD 121 / AWD 129
Fig. 5-2
Fig. 5-6
Page: 6
