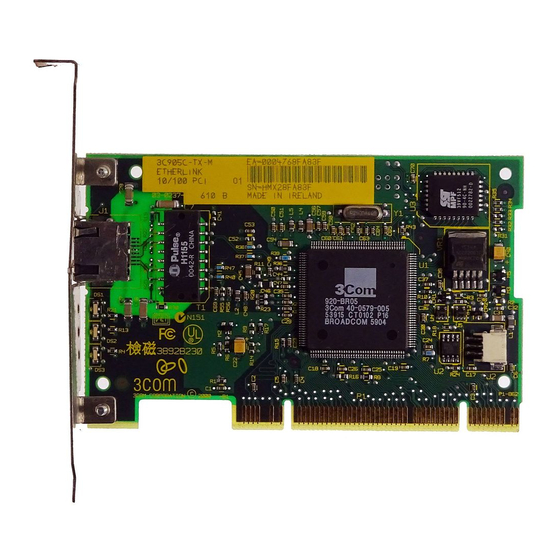
3Com EtherLink 3C905C-TX-M Короткий посібник - Сторінка 12
Переглянути онлайн або завантажити pdf Короткий посібник для Мережева карта 3Com EtherLink 3C905C-TX-M. 3Com EtherLink 3C905C-TX-M 15 сторінок. Network interface card

rn_body.SML Page 10 Wednesday, June 9, 1999 7:56 AM
10
E
L
®
PCI N
THER
INK
4 Click Add.
The Select Network Adapter dialog box appears.
5 Click Have Disk.
The Insert Disk dialog box appears.
6 Insert the EtherCD in the CD-ROM drive.
7 Make sure that the letter name of your CD-ROM drive
(for example, d:\) appears in the entry box, and then
click OK.
The Select OEM Option dialog box appears.
8 Make sure that the 3Com EtherLink PCI NIC is
selected, and then click OK.
The Adapters tab of the Network screen appears.
9 Click Close.
If the Microsoft TCP/IP Properties screen appears,
I
enter the requested information for your network
environment. Refer to your system administrator or
the Windows NT documentation for assistance.
If the Microsoft TCP/IP Properties screen does not
I
appear, the installation is complete.
10 Click Yes to restart the PC.
The network driver installation is complete. Go to the next
section,
the NIC is properly installed.
Verifying Successful Installation
Follow the steps for your operating system.
Windows 95 and Windows 98
To verify successful NIC installation:
1 Open the Windows Start menu, select Settings, and
then select Control Panel.
2 Double-click the System icon, and then select the
Device Manager tab.
3 Double-click Network adapters and make sure that
the name of the 3Com EtherLink NIC appears.
If a red X or a yellow exclamation point (!) appears next
to the name of the NIC, the installation was not successful.
See the next section for troubleshooting help.
Artisan Scientific - Quality Instrumentation ... Guaranteed | (888) 88-SOURCE | www.artisan-scientific.com
I
C
Q
ETWORK
NTERFACE
ARDS
UICK
"Verifying Successful
Installation," to confirm that
G
UIDE
