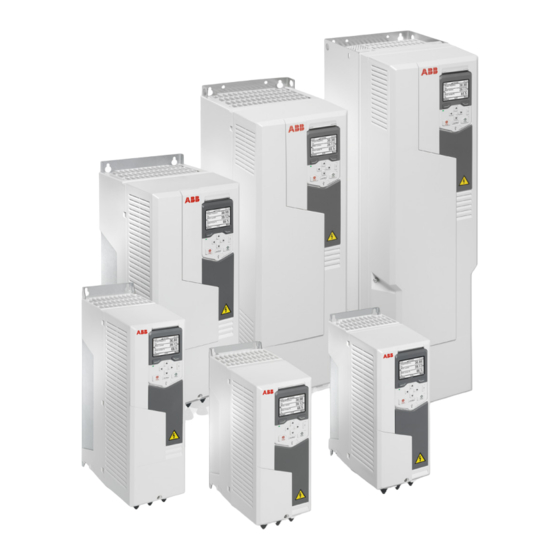
ABB ACS580-01 drives Посібник - Сторінка 11
Переглянути онлайн або завантажити pdf Посібник для Блок управління ABB ACS580-01 drives. ABB ACS580-01 drives 16 сторінок. Frequency converter. nec types
Також для ABB ACS580-01 drives: Посібник зі швидкого встановлення та запуску (17 сторінок), Посібник зі швидкого встановлення та запуску (17 сторінок)

Reforming with power on for 30 minutes
This method can be used for capacitor reforming if the converter has been stocked (non-
operational) for one to two years (product series ACS800, ACS850, ACQ810, ACSM1,
ACS880-104, ACS380, ACH480 and ACS480) or for one to three years (product series
ACH580, ACQ580, ACS580 and ACS880 except ACS880-104).
1. Switch the power on to the converter for 30 minutes.
2. Do not load the converter while the reforming is ongoing.
The converter "wakes up" its capacitors on its own, after which it is ready for use.
Reforming with external DC power supply
This method can be used for capacitor reforming if the converter has been stocked (non-
operational) for two years or longer (product series ACS800, ACS850, ACQ810, ACSM1,
ACS880-104, ACS380, ACH480 and ACS480) or for three years or longer (product series
ACH580, ACQ580, ACS580 and ACS880 except ACS880-104).
WARNING! Obey the safety instructions in section
If you ignore them, injury or death, or damage to the equipment can occur. Never
switch on the converter power supply while the reforming circuit is connected.
Lock the disconnector (if any) to an open position.
1. Make sure that the converter module is disconnected from all possible power sources
(all AC and DC inputs/outputs are disconnected).
2. Measure that the installation is de-energized:
•
Use a multimeter with an impedance of at least 1 Mohm.
•
Make sure that the voltage between the converter input power terminals (U1, V1
and W1) and the grounding terminal (PE) is close to 0 V.
•
Make sure that the voltage between the converter DC terminals (UDC+ and UDC-)
and the grounding terminal (PE) is close to 0 V.
Reforming the capacitors 11
Safety instructions
on page 6.
