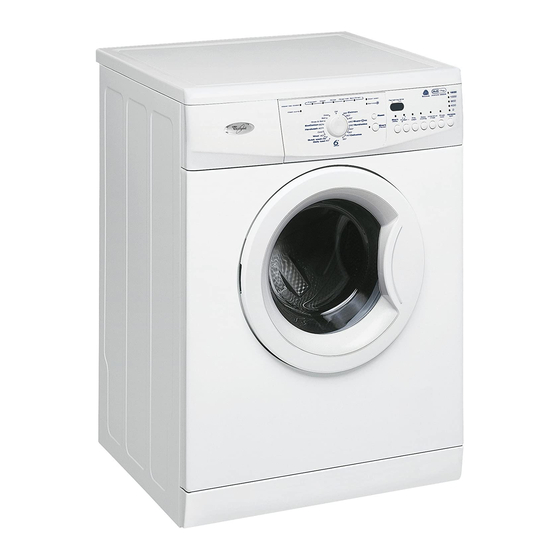
Whirlpool AWO/D 6728 AWO/D 6728 Інструкція з використання Посібник з використання - Сторінка 6
Переглянути онлайн або завантажити pdf Інструкція з використання Посібник з використання для Пральна машина Whirlpool AWO/D 6728 AWO/D 6728. Whirlpool AWO/D 6728 AWO/D 6728 14 сторінок. 7kg, 1200rpm, 6th sense eco washing machine awo/d 6528 wp

Where to put detergent and additives
The detergent drawer has three chambers (fig. "A").
Prewash Chamber
• Detergent for the prewash
Main Wash Chamber
• Detergent for the main wash
• Stain remover
• Water softener
Softener Chamber
• Fabric softener
• Liquid starch
Pour additives only up to the "MAX" mark.
Using chlorine bleach
• Wash your laundry in the desired programme (Cotton, Synthetics),
adding an appropriate amount of chlorine bleach to the SOFTENER
chamber (close the detergent dispenser carefully).
• Immediately after end of programme, start the "Rinse and Spin"
programme to eliminate any residual bleach smell; if you want,
you can add softener.
Never put both chlorine bleach and softener into the softener
chamber at the same time.
Using starch
• Select the "Rinse and Spin" programme and check that the spin
speed is adjusted to not more than 800 rpm.
• Start the programme, pull out the detergent dispenser so that you
can see approximately 3 cm of the softener chamber.
• Pour the starch solution prepared into the softener chamber
while the water is running into the detergent dispenser.
How to position the separator in the main wash
chamber for powder or liquid detergent
For use with powder detergent: place the separator in the higher
position.
Lift the separator until its top can be reclined. Place its hooks on the
upper end of the back guide rails and slightly push the separator
down to fix it (fig. "B" and "C").
A gap should remain between the separator and the bottom of the main
wash chamber, if the separator has been correctly installed (fig. "B" and
"C").
For use with liquid detergent: place the separator in the lower position.
Secure the separator in the chamber using the front guide rails.
Position the separator so that it touches the bottom of the main
wash chamber
(fig. "D").
A
Hooks
B
3
C
D
GB 6
Separator
( )
}
Separator
Guide
Rails
2
1
A
