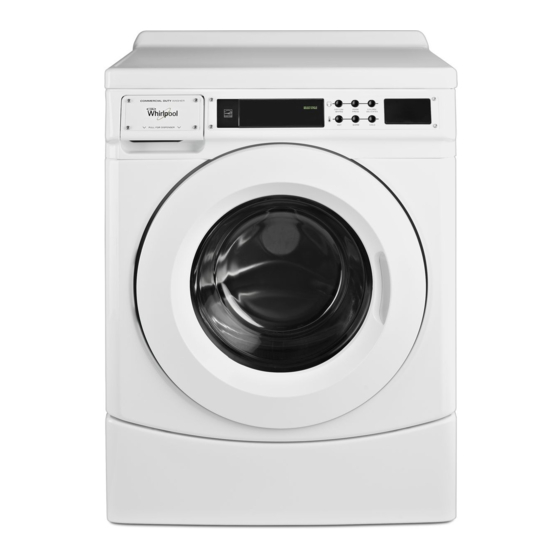
Whirlpool CED9150GW Інструкція з монтажу Посібник з монтажу - Сторінка 8
Переглянути онлайн або завантажити pdf Інструкція з монтажу Посібник з монтажу для Пральна машина Whirlpool CED9150GW. Whirlpool CED9150GW 32 сторінки. Commercial front-load washer

4. Turn on the water faucets completely and check for leaks
at water faucets and washer connections.
NOTE: Replace inlet hoses after 5 years of use to reduce the
risk of hose failure. Record hose installation or replacement
dates on the hoses for future reference.
Periodically inspect and replace hoses if bulges, kinks, cuts,
wear, or leaks are found.
Connect the Drain Hose
Remove drain hose from washer drum
1. Using locking pliers, squeeze hose clamp tabs together
and insert over the end of drain hose.
2. Slide drain hose onto washer connection.
3. Once drain hose is in place, release pliers.
8
Washer drain system can be installed using a floor drain,
wall standpipe, floor standpipe, or laundry tub.
Laundry tub drain or standpipe drain
Connect the drain hose form to the corrugated drain hose.
To keep drain water from going back into the washer:
Use the drain hose form and do not force excess drain hose
■
into standpipe. Hose should be secure but loose enough
to provide a gap for air.
Do not lay excess hose on the bottom of the laundry tub.
■
Floor drain
You may need additional parts. See "Floor drain" under
"Tools and Parts."
Secure the Drain Hose
Drain hose must be secured to stop the hose from moving when
water is pumped out. If the drain hose moves, water may end up
on the floor.
1. Drape the power cord over the washer top.
2. Move the washer to its final location.
3. Place the drain hose in the laundry tub or standpipe as shown.
See illustrations A and B.
4
4
/
"
1
(114 mm)
2
(114 mm)
A
NOTES:
Do not force excess drain hose back into the rear of
■
the washer.
To avoid siphoning, do not seal or put more than 4½"
■
(114 mm) of the drain hose into drainpipe or standpipe.
If the washer faucets and the drain standpipe are recessed,
■
put the hooked end of the drain hose in the standpipe as
shown. See illustration C.
It is the responsibility of the installer to install and secure the
■
drain hose into the provided plumbing/drain in a manner that
will avoid the drain hose coming out of, or leaking from, the
plumbing/drain.
"
1
/
2
B
C
