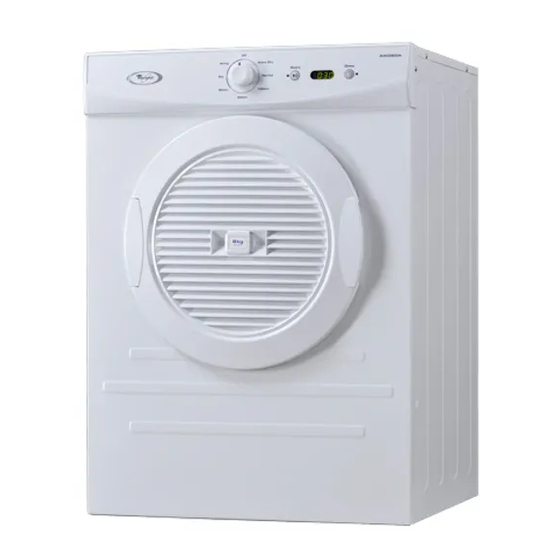
Whirlpool AWD60A Посібник з експлуатації - Сторінка 6
Переглянути онлайн або завантажити pdf Посібник з експлуатації для Сушарка Whirlpool AWD60A. Whirlpool AWD60A 32 сторінки. Tumble dryer
Також для Whirlpool AWD60A: Посібник з експлуатації (16 сторінок), Посібник з експлуатації (22 сторінок)

- 1. Table of Contents
- 2. Name of Parts
- 3. Importantsafetyinstructions
- 4. Installation
- 5. Wallmounting Instructions
- 6. Wall Mounting Instructions
- 7. Rack Fitting Instructions
- 8. Rack Fitting Instructions
- 9. How to Operate the Dryer
- 10. Control Panel
- 11. Drying Methods
- 12. Cleaning and Maintenance
- 13. Trouble Shooting
- 14. Specifications
- 15. Wiring Circuit
- 16. Program Descriptions
WALLMOUNTING INSTRUCTIONS
The dryer can be mounted to a wall by following these instructions.
Firstly select whether to mount the dryer vertically, with the control panel at the top - or
invent the dryer so the control panel is at the botom(see figure 4) this allows easier access
to the controls.
1. Determine the location of the dryer on the wall and mark the bracket position.
A minimum 50mm is needed between the top of the dryer and the ceiling for ease of
installation.
If mounting above a top load washing machine, allow suf?cient room to open the lid of the
washer.
TOOLS REQUIRED
For plaster or
timber wall
WALL MOUN TING KIT IN CLUDES
Description
2. Fix the wall hanging brackets to the wall
securely (eg. into the stud).
If the studs are too far apart, fit a timber slat to
the studs then mount the brackets onto the slat.
The distance between each bracket is 553mm as
per diagram.
6
TumbleDryer_AWD60A-4.indd 6
Drill & 3mm bit
Phillips head screw driver
PlasticSpacers
Wall hanging brackets
Hanging hook
Wood screws,12g x 50mm
timber screws
1
1
2
2
2
4
553mm
Wood screws
FIG.1.
5/8/08 4:25:46 PM
