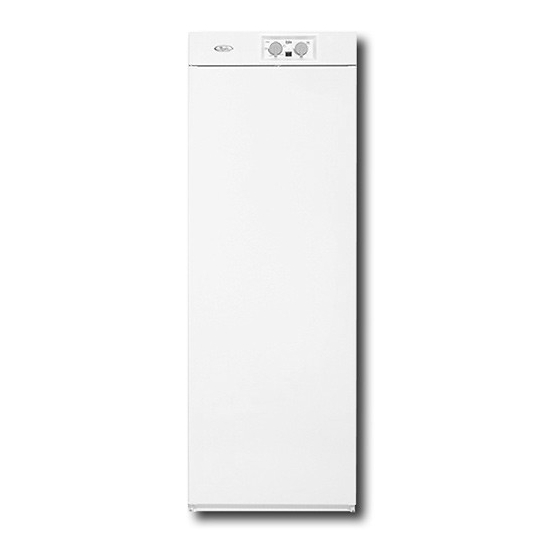
Whirlpool DryAire Інструкція з монтажу Посібник з монтажу - Сторінка 6
Переглянути онлайн або завантажити pdf Інструкція з монтажу Посібник з монтажу для Сушарка Whirlpool DryAire. Whirlpool DryAire 16 сторінок. Drying cabinet

Level drying cabinet
1. Check the level of the drying cabinet first side to side, then
front to back.
2. To adjust the level, use the Allen wrench provided and turn
the leveling legs through the holes in the floor of the drying
cabinet. (Pliers may be used to turn the Allen wrench, if
needed.)
1
2
1. Allen wrench (supplied)
2. Level
Attach drying cabinet to wall
1. Slide out the upper rack and mark the center of the mounting
holes on the wood shim.
2. Through the mounting holes in the back of the drying cabinet,
drill ¹⁄₈ in. pilot holes in the wood shim.
3. Attach the drying cabinet to the shim with #10 screws and
washers provided.
1. Washer
2. Screw
6
Final installation
1. Check to be sure the drying cabinet is still level and that the
door opens and closes easily.
NOTE: If the door does not close properly, recheck the level
of the drying cabinet and/or whether it is securely attached to
the wall.
2. Place the plastic hole plugs into the base of the drying
cabinet over the leveling screws, tapping gently with a
hammer, if necessary.
NOTE: If installing in the custom cabinetry, attach the adapter
through the top hole of venting area in the custom cabinetry after
the drying cabinet is in its final location.
1. Attach the adapter by using a sliding and twisting motion until
it is under all tabs on the top of the drying cabinet vent
opening as shown.
2. Connect the 4 in. (10.2 cm) heavy metal exhaust vent (not
included) to the adapter section.
Use two or more people to move and install
drying cabinet.
Failure to do so can result in back or other injury.
You can change your door swing from a right-side opening to a
left-side opening, if desired.
1. Using an adjustable wrench, remove the hinge pin and
1
washer from the bottom hinge.
2. To remove the door, lift up and swing the bottom of the door
out while sliding it off the top hinge pin.
2
3. Remove the door hinge hole plug and move it to the opposite
side.
4. Unscrew the hinge pin from the top hinge using a flat-blade
screwdriver and install it on the opposite side.
Connect Vent
1
2
3
1. 4 in. (10.2 cm) heavy metal exhaust vent
(not included)
2. Adapter
3. Tab
Reverse Door Swing
WARNING
Excessive Weight Hazard
