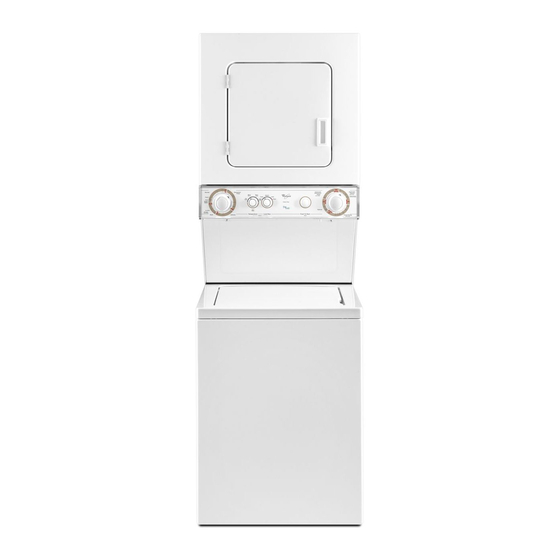
Whirlpool WGT3300SQ - Gas Laundry Center Інструкція користувача - Сторінка 8
Переглянути онлайн або завантажити pdf Інструкція користувача для Сушарка Whirlpool WGT3300SQ - Gas Laundry Center. Whirlpool WGT3300SQ - Gas Laundry Center 28 сторінок. Combination washer/electric dryer
Також для Whirlpool WGT3300SQ - Gas Laundry Center: Інструкція з монтажу Посібник з монтажу (28 сторінок), Технічні характеристики (8 сторінок)

Cleaning the Washer/Dryer Location
Keep washer/dryer area clear and free from items that would
obstruct the flow of combustion and ventilation air.
WARNING
Explosion Hazard
Keep flammable materials and vapors, such as
gasoline, away from dryer.
Failure to do so can result in death, explosion, or fire.
Cleaning Your Washer
Cleaning the exterior
Use a soft, damp cloth or sponge to wipe up any spills such as
detergent or bleach. Occasionally wipe the outside of your washer
to keep it looking new.
Cleaning the interior
Clean your washer interior by mixing 1 cup (250 mL) of chlorine
bleach and enough detergent to equal twice the manufacturer's
recommended amount for a normal wash load. Pour this mixture
into your washer and run it through a complete cycle using hot
water. Repeat this process if necessary.
NOTE: Remove any hard water deposits using only cleaners
labeled as washer safe.
Cleaning the liquid fabric softener dispenser (on some
models):
1. Remove dispenser by grasping top with both hands and
squeezing, while pushing upward with thumbs.
2. Rinse dispenser under a warm water faucet, then replace it.
NOTE: If your model has a liquid fabric softener dispenser, do not
wash clothes with this dispenser removed. Do not add detergent
or bleach to this dispenser; it is for liquid fabric softener only.
Water Inlet Hoses
This washer does not include water inlet hoses. Whirlpool
Corporation recommends use of Factory Specified Parts. A list of
factory specified hoses available for separate purchase are listed
on the first page of this user instructions. These hoses are
manufactured and tested to meet Whirlpool Corporation's
specifications.
Replace water inlet hoses after 5 years of use to reduce the risk of
hose failure. Periodically inspect and replace water inlet hoses if
bulges, kinks, cuts, wear, or leaks are found.
When replacing your water inlet hoses, mark the date of
replacement on the label with a permanent marker.
8
WASHER/DRYER CARE
Clean the lint screen before each load. A screen blocked by lint
can increase drying time.
IMPORTANT:
■
■
Every Load Cleaning
Style 1:
1. The lint screen is located inside the dryer on the back wall.
2. Separate the cover and the screen by squeezing the screen
3. Roll lint off the screen with your fingers. Do not rinse or wash
4. Put the lint screen and cover back together and push firmly
Style 2:
1. The lint screen is located inside the dryer in the front door well.
2. Roll lint off the screen with your fingers. Do not rinse or wash
3. Push the lint screen firmly back into place.
As Needed Cleaning
Laundry detergent and fabric softener residue can build up on the
lint screen. This buildup can cause longer drying times for your
clothes, or cause the dryer to stop before your load is completely
dry. The screen is probably clogged if lint falls off the screen.
Clean the lint screen (as outlined following) every 6 months, or
more frequently if it becomes clogged due to a residue buildup.
1. Roll lint off the screen with your fingers.
2. Wet both sides of lint screen with hot water.
3. Wet a nylon brush with hot water and liquid detergent. Scrub
4. Rinse screen with hot water.
5. Thoroughly dry lint screen with a clean towel. Replace screen
To clean dryer drum
1. Apply a nonflammable household cleaner to the stained area
2. Wipe drum thoroughly with a damp cloth.
3. Tumble a load of clean cloths or towels to dry the drum.
NOTE: Garments that contain unstable dyes, such as denim blue
jeans or brightly colored cotton items, may discolor the dryer
interior. These stains are not harmful to your dryer and will not
stain future loads of clothes. Dry unstable dye items inside out to
avoid transfer of dye.
Cleaning the Lint Screen
Do not run the dryer with the lint screen loose, damaged,
blocked, or missing. Doing so can cause overheating and
damage to both the dryer and fabrics.
If lint falls off the screen into the dryer during removal, check
the exhaust hood and remove the lint.
Pull out the lint screen and its cover.
and pulling on the cover at the same time.
screen to remove lint. Wet lint is hard to remove.
back into place.
Pull the lint screen straight up.
screen to remove lint. Wet lint is hard to remove.
lint screen with the brush to remove residue buildup.
in dryer.
Cleaning the Dryer Interior
of the drum and rub with a soft cloth until stain is removed.
