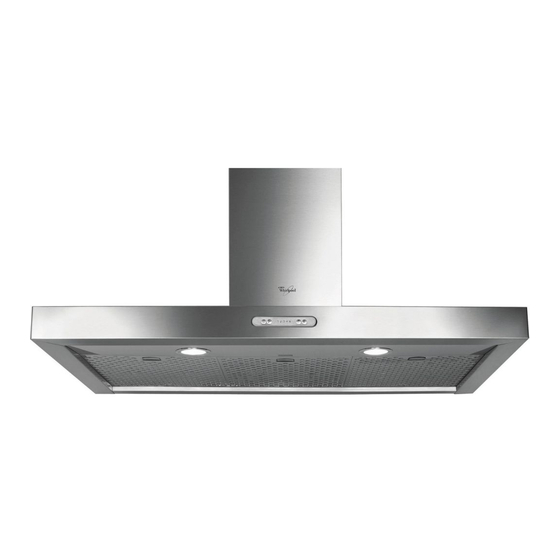
Whirlpool AKR 799 IX AKR 799 IX Посібник зі встановлення та використання - Сторінка 10
Переглянути онлайн або завантажити pdf Посібник зі встановлення та використання для Вентиляційна витяжка Whirlpool AKR 799 IX AKR 799 IX. Whirlpool AKR 799 IX AKR 799 IX 13 сторінок. 90cm spot sensor cooker hood, akr 799 ix

EXTRACTOR OR FILTERING HOOD INSTALLATION
The hood is designed for use in "Extractor version" or in "Filter version".
Extractor version
Fumes are extracted and expelled to the outside through an exhaust pipe (not supplied) fixed to the hood exhaust pipe
connector B.
Depending on the exhaust pipe purchased, provide for suitable fixing to the exhaust pipe connector.
Important: If already installed, remove the carbon filter/s.
Filter version
Air is filtered through the carbon filter/s and recycled into the surrounding environment.
Important: check that air recirculation is facilitated.
Important: If the hood does not have a carbon filter/s, order one/them and fit it/them before use.
The instructions below, to be performed in order as numbered, refer to the diagram with reference numbers found on the
next page.
Remove the grease filter/s and the carbon filter holder.
1. Mark a line on the wall right up to the ceiling, corresponding to the centre-line of the hood.
2. Apply the drilling template to the wall: Align the vertical centre-line on the drilling template with the centre-line drawn on
the wall. The template's bottom edge represents the bottom edge of the hood.
3. Place the mounting bracket over the drilling template so that it matches the outlined rectangle, mark and drill the two
external holes. Remove the drilling template, insert 2 wall plugs and fix the hood mounting bracket with 2 screws.
4. Hook the hood to the bracket.
5. Adjust the distance between the hood and the wall.
6. Adjust the hood horizontally.
7. From inside the hood, mark 2 holes for the final fixing of the hood.
8. Remove the hood from the bracket.
9. Drill (Ø 8 mm).
10. Insert 2 wall plugs.
11. Apply the flue support bracket G on the wall and against the ceiling (the small slot on the support must match the line
previously drawn on the wall (step1). Drill 2 holes (Ø 8 mm) and insert 2 wall plugs.
12. Fix with 2 screws.
13. Hang the hood on the bottom mounting bracket.
14. Fix the hood securely to the wall with 2 screws.
15. Connect an exhaust pipe to the collar B; the fumes must be ducted to the outside (extractor version) or towards the
deflector (filter version).
Fit the deflector F to the flue support bracket G with 2 screws.
16. Make all necessary electrical connections.
17. Fit the flues and fix them with 2 screws (17a) to the flue support G (17b).
18. Slide the bottom section of the flue all the way over the extraction unit until it engages the seat above the hood.
Refit the carbon filter holder and the grease filter/s and check correct hood operation.
5019 318 33278
GB
D
F
NL
E
P
I
GR
N
S
DK
FIN
PL
RUS BG RO
CZ SK
H
