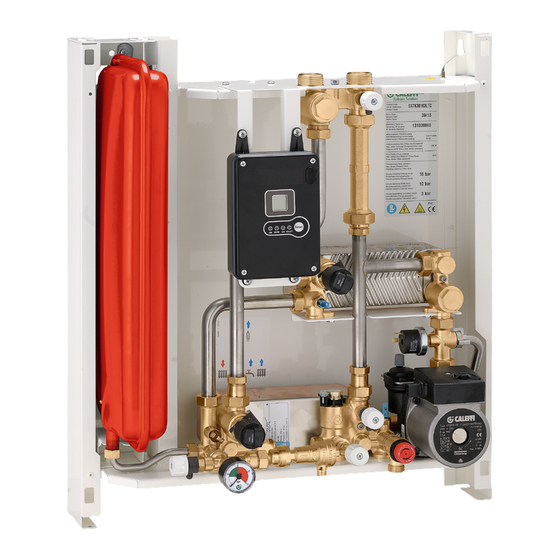
CALEFFI SATK30 Series Інструкція з монтажу, введення в експлуатацію та обслуговування - Сторінка 6
Переглянути онлайн або завантажити pdf Інструкція з монтажу, введення в експлуатацію та обслуговування для Обладнання для запису CALEFFI SATK30 Series. CALEFFI SATK30 Series 16 сторінок. Wall-mounted compact indirect heat interface unit

Connection to the chrono-thermostat
The SATK series HIU is fitted for connection to a thermostat or
chrono-thermostat, both standard and OpenTherm, for ambient
temperature adjustment.
The connection to this device (potential-free contact) must be
made with the two-wire cable marked with the label shown below.
Should it be necessary to extend this cable, use one with the same
cross-section (max 1 mm
) and maximum length 30 m.
2
WARNING!
DO NOT CONNECT EXTERNAL
VOLTAGE SUPPLY TO THESE
TERMINALS
ATTENZIONE!
NON ALIMENTARE IN TENSIONE
Fitting the cover
Place the casing over the frame, inserting the upper tabs (1) into
the corresponding slots (2).
Place the lower part of the casing over the frame.
Tighten the screws (3).
3
Raumthermostat
(Potenzialfreier Kontakt)
Sonde d'ambiance
(Contact sec)
Termostato ambiente
Termostato de ambiente
(Contatto pulito)
(Contacto sin potencial)
Room thermostat
Ruimtesensor
(Volt free connection)
(Schoon contact)
2
1
Commissioning
Filling the central heating system
Open the shut-off valves on the connections to the centralised line
and, in the central heating system, proceed with charging the
system to the design pressure.
Once these procedures are complete, vent the system and check
its pressure again (repeat the filling process if necessary)
Vessel pre-charge check
Perform the following steps:
- Use a pressure gauge to check the pre-charge value
- If necessary, restore the pre-charge value shown in the technical
specifications.
Filling the user system
SATK30 series HIU are fitted with a filling unit equipped with a
backflow preventer (C), check valve (D) and cock (A).
When filling the system for the first time or for subsequent top-up
procedures following a heating circuit
pressure
switch
fault,
(0,12–0,2 MPa - 1,2–2 bar) by opening cock (A) and checking the
value by means of the pressure gauge (B).
Once the correct pressure has been reached, close the cock (A),
vent the system and check its pressure again (repeat the filling
process if necessary)
D
B
System start-up
Before starting the HIU, visually check the hydraulic connection
watertightness and the electric wiring. After finishing the check,
activate the electric supply to the HIU and check for the presence
of any error signals.
If there are any, eliminate the fault indicated and proceed as
described below, setting the set point of the domestic water and
heating cycles, programming the thermostat/chrono-thermostat
according to the desired temperatures and times, and checking the
operating cycles.
6
restore
the
system
pressure
C
A
