Xerox WORKCENTRE 5735 Інструкція користувача - Сторінка 3

Переглянути онлайн або завантажити pdf Інструкція користувача для Принтер Xerox WORKCENTRE 5735. Xerox WORKCENTRE 5735 4 сторінки. Smart card
Також для Xerox WORKCENTRE 5735: Інформаційний посібник (50 сторінок), Технічний паспорт (18 сторінок), Брошура та технічні характеристики (8 сторінок), Посібник для початківців (32 сторінок), Безпечне встановлення та експлуатація (11 сторінок), Посібник користувача (8 сторінок), Як зробити копію (10 сторінок), Посібник з монтажу (43 сторінок)
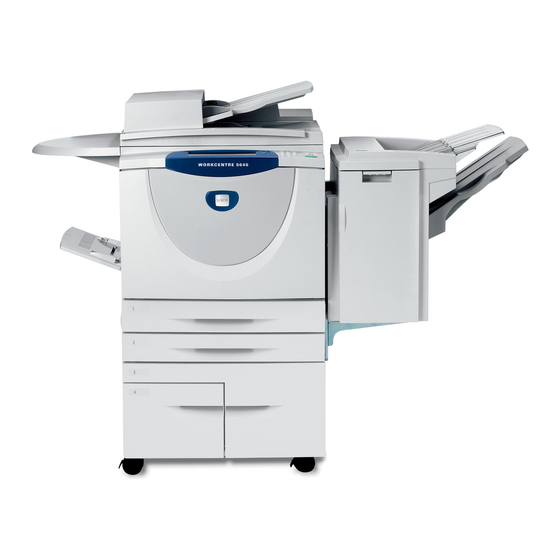
Xerox WORKCENTRE 5735 Інструкція користувача
To send a fax to a single recipient:
1.
If necessary, press the [Services Home] button on the Control Panel, and then
select the [Fax] tab on the Touch Screen to display the Fax options.
2.
Using the alphanumeric keypad, enter the fax phone number, and then press the
[Start] button to send the fax.
To send a fax using the Address Book:
1.
If necessary, press the [Services Home] button on the Control Panel, and then
select the [Fax] tab on the Touch Screen to display the Fax options.
2.
Select the [Address Book] button.
3.
Select the [Individuals] option from the pull-down menu.
4.
Select the required speed dial from the list displayed, and then select the [Add to
Recipients] option from the pop-up menu.
5.
Repeat step 4 to enter additional individual fax.
6.
When all the fax numbers have been entered, select the [Close] button.
7.
Select any required features for your fax job.
8.
Press the [Start] button on the Control Panel to scan the originals and process
the fax job.
How to Scan to E-mail
1.
Load the original(s) face-up in the Duplex Automatic Document Feeder (DADF),
or place a single original face-down on the Document Glass.
2.
Press the [Services Home] button on the Control Panel.
3.
Select [Email] on the Touch Screen.
Add a new recipient's email address
4.
5.
Press [Add]
6.
Select any other required options from the Email, Advanced Settings, Layout
Adjustment, Email Options or Job Assembly tabs.
7.
Press the [Start] button on the Control Panel.