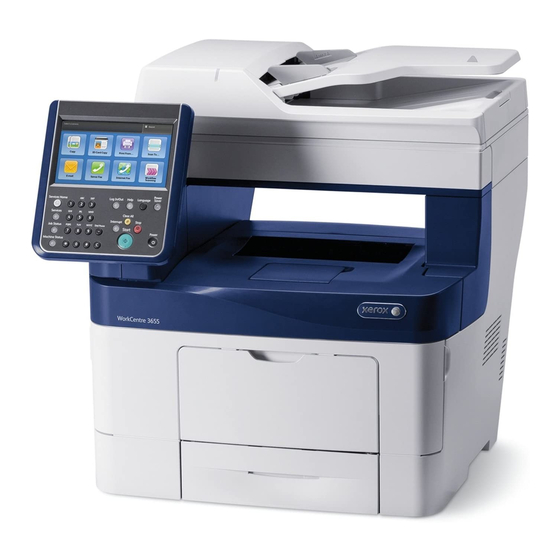
WorkCentre 7220/7225 or WorkCentre 7830/7835/7845/7855 is not in diagnostics mode and that there are no
active or pending scan jobs.
10. IP Filtering: Enable and configure IP Filtering to create IP Filter rules by following the instructions under "IP
Filtering" in Section 4 of the SAG.
Note that IP Filtering is not available for either the AppleTalk protocol or the Novell protocol with the 'IPX' filing
transport. Also, IP Filtering will not work if IPv6 is used instead of IPv4, but IPv6 is not part of the evaluated
configuration.
Note also that a zero ('0') should be used and not an asterisk ('*') if a wildcard is needed for an IP address in
an IP Filter rule.
11. Audit Log: Enable the audit log, download the audit log file and then store it on an external IT product using
the Web UI by following the appropriate instructions for "Enabling Audit Log" and "Saving an Audit Log",
respectively, under "Audit Log" in Section 4 of the SAG.
Save audit log entries on a USB drive attached to the device via one of the Host USB ports using the Control
Panel by following the appropriate instructions for "Saving an Audit Log to a USB Drive" under "Audit Log" in
Section 4 of the SAG. In downloading the Audit Log the System Administrator should ensure that Audit Log
records are protected after they have been exported to an external trusted IT product and that the exported
records are only accessible by authorized individuals.
The System Administrator should download and review the Audit Log on a daily basis. The machine will send
a warning email when the audit log is filled to 90% (i.e., 13,500) of the 15,000 maximum allowable number of
entries, and repeated thereafter at 15,000 entries until the Audit Log is downloaded.
The System Administrator should be aware that there is the possibility that on an intermittent basis multiple
entries may be included in the audit log for the same event.
The Audit Log can be transferred to an audit log server outside the device. The directions for transferring the
audit log are:
Follow the directions for accessing the Audit Log under "Audit Log" in Section 4 of the SAG.
Select the Audit Log Enabled checkbox.
Enter the IP Address or Host Name and the port number for the Audit Log Server.
Enter the directory path to the filename where the transferred Audit Log is to be stored.
Enter the login name and password to access the Audit Log server.
Either schedule a time when the Audit Log will be transferred by selecting the Schedule Automatic Log
Transfer Enabled checkbox and entering the desired time in the appropriate text boxes the Audit Log is to
be transferred, or selecting Send Log Now button to send the Audit Log immediate to the Audit Log server.
Note that the Audit Log will be transferred using the SFTP secure protocol even though that fact may not be
stated on the Audit Log Web UI page.
12. IPSec: Enable and configure IPSec by following the instructions under "IPsec" in Section 4 of the SAG. Note
that IPSec should be used to secure printing jobs; HTTPS (SSL) should be used to secure scanning jobs. Use
the default values for IPSec parameters whenever possible for secure IPSec setup.
Note that IPSec can be disabled at the Control Panel by following the instructions for "Disabling IPSec at the
Control Panel" under "IPSec" in Section 4 of the SAG. However, if IPSec is disabled the device will no longer
be in the evaluated configuration.
Ensure that an IP Address of 0.0.0.0 is not used to create a new Host Group.
13. Session Inactivity Timeout: Enable the session inactivity timers (termination of an inactive session) from the
Web UI by following the instructions for "Setting System Timeout Values" or from the Control Panel by following
the instructions for "Setting the System Timeout Values at the Control Panel" in Section 4 of the SAG.
14. Secure Print: Set the Secure Print security function to require the User ID for identification purposes to release
a secure print job. Access and configure the Secure Print security function by following the instructions under
"Configuring Secure Print Settings" in Section 5 of the SAG.
Ensure that the 'Release Policies for Secure Print Jobs Requiring Passcode When the User is Already Logged
In' option is set to Prompt for Passcode Before Releasing Jobs.
For best security, print jobs (other than LANFax jobs) submitted to the device from a client or from the Web UI
should be submitted as a secure print job. To ensure that print jobs can only be submitted as secure print jobs,
for logged in users (since non-logged in users are denied permission to print any job in the evaluated
5

