Xerox WORKCENTRE 7435 Додатковий посібник - Сторінка 10

Переглянути онлайн або завантажити pdf Додатковий посібник для Принтер Xerox WORKCENTRE 7435. Xerox WORKCENTRE 7435 49 сторінок. Security function
Також для Xerox WORKCENTRE 7435: Довідковий посібник (28 сторінок), Брошура та технічні характеристики (8 сторінок), Технічні характеристики (15 сторінок), Посібник для оцінювачів (32 сторінок), Технічні характеристики (14 сторінок), Оновлення програмного забезпечення (2 сторінок), Посібник із швидкого старту (7 сторінок)
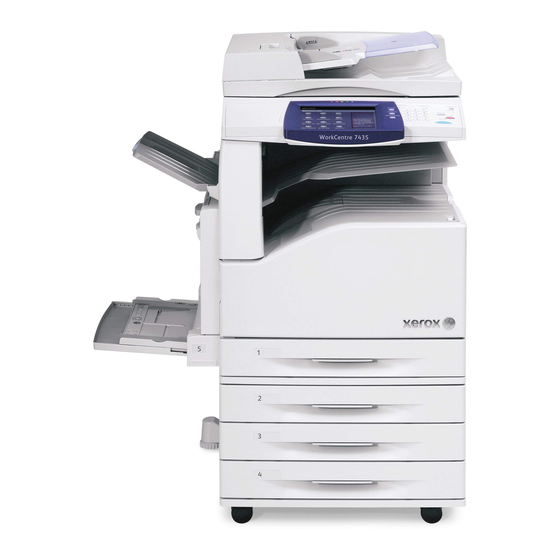
Xerox WORKCENTRE 7435 Додатковий посібник
Confirm the Machine ROM version and the
System Clock
Before initial settings, the System Administrator (Machine Administrator) has to check the machine ROM version
and the system clock of the machine.

How to check by Control Panel

1.
Press the <Machine Status> button on the control panel.
2.
Select [Machine information] on the touch screen.
3.
Select [Software Version] on the [Machine information] screen.
You can identify the software versions of the components of machine on the screen.

How to check by Print Report

1.
Press the <Machine Status> button on the control panel.
2.
Select [Print Reports] on the [Machine information] screen.
3.
Select [Printer Reports] on the touch screen.
4.
Select [Configuration Reports].
5.
Press the <Start> button on the control panel.
You can identify the software versions of the components of machine by Print Report.

How to check the Clock

1.
Press the <Log In / Out> button on the control panel.
2.
Enter the System Administrator's Login ID and Passcode if prompted (default admin, 1111).
3.
Select [Enter] on the touch screen.
4.
Press the <Machine Status> button on the control panel.
5.
Select [Tools] on the touch screen.
6.
Select [System Settings].
7.
Select [Common Service Settings].
8.
Select [Machine Clock/Timers].
You can Check the time and date of internal clock. If it is required to change, refer to following procedures.
1.
Select the required option.
2.
Select [Change Settings].
3.
Change the required setting. Use the scroll bars to switch between screens.
4.
Select [Save].
10