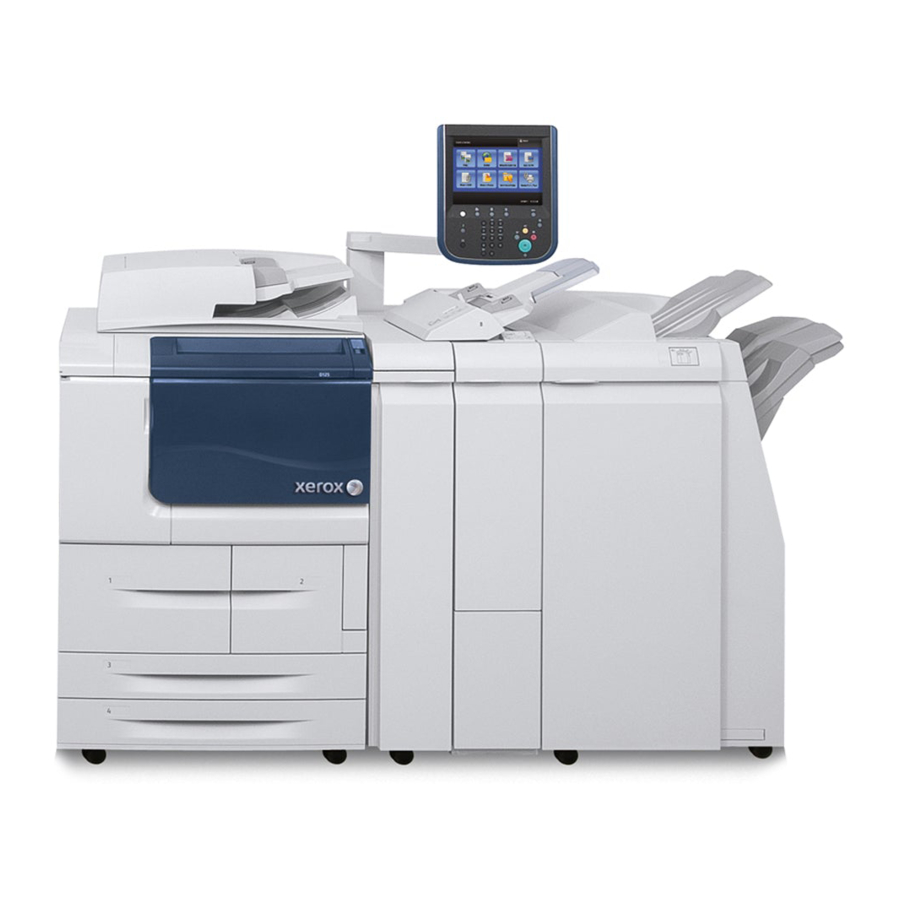
Xerox D125 Посібник з монтажу - Сторінка 9
Переглянути онлайн або завантажити pdf Посібник з монтажу для Ксерокс. Xerox D125. Xerox D125 14 сторінок. Printer and copier/printer
Також для Xerox D125: Детальні технічні характеристики (8 сторінок), Технічні характеристики (8 сторінок), Специфікація (8 сторінок), Посібник користувача (32 сторінок)

13. Reboot the machine to activate the plug-in.
a) Select the Status tab.
b) Select Reboot Machine.
A message displays asking: Do you want to reboot?
c) Select OK.
After the machine reboots the status then displays Activated.
14. Ensure that the correct version of the plug-in was uploaded and activated.
a) Select the specific plug-in.
b) Select Details to view the correct version of the plug-in.
c) Select Close to return to the List of Embedded Plug-Ins.
Configuring the machine to use Xerox
Secure Access for authentication
The following steps are required for Xerox Secure Access to communicate with the
Authentication feature.
1. Open an internet web browser.
2. Enter the IP address of the machine in the address field.
3. Press Enter to go to CentreWare
4. Select the Properties tab.
5. If prompted, enter the system administrator user name and password.
The default user name is admin and the default password is 1111.
6. Select OK.
7. Select the Security folder.
8. Select Authentication Configuration in the directory tree.
9. The Authentication Configuration > Step 1 of 2 displays.
a) Select Xerox Secure Access from the Login Type drop-down menu.
b) Select Apply.
A message displays.
c) Select OK.
d) Select the Status tab.
e) Select Reboot Machine.
A message displays asking: Do you want to reboot?
f) Select OK.
10. Repeat the following steps:
a) Open an internet web browser.
®
Xerox
D95/D110/D125 Printer and Copier/Printer
Xerox® Secure Access Installation Guide
Xerox Secure Access Installation Guide
®
Internet Services.
5
