Xerox M123 WorkCentre Посібник зі швидкого налаштування мережі - Сторінка 6

Переглянути онлайн або завантажити pdf Посібник зі швидкого налаштування мережі для Ксерокс. Xerox M123 WorkCentre. Xerox M123 WorkCentre 7 сторінок. Stand installation guide
Також для Xerox M123 WorkCentre: Посібник з монтажу (2 сторінок), Посібник для оцінювачів (12 сторінок), Брошура та технічні характеристики (6 сторінок), Посібник з інсталяції (2 сторінок), Посібник з експлуатації мережі (50 сторінок), Посібник зі сканування (28 сторінок), Картка швидкого встановлення (2 сторінок), Посібник (28 сторінок), Посібник зі встановлення фінішера Office Finisher (6 сторінок), Посібник зі встановлення фінішера Office Finisher (6 сторінок), Посібник з встановлення обладнання (4 сторінок), Посібник зі встановлення лотка великої місткості (3 сторінок), Посібник зі встановлення лотка великої місткості (3 сторінок), Посібник зі встановлення комплекту жорсткого диска (2 сторінок), Посібник з монтажу інвертора (2 сторінок), Посібник з монтажу (2 сторінок), Посібник з встановлення обладнання (2 сторінок), Інструкція з монтажу стенду (2 сторінок), Довідковий посібник (20 сторінок), Посібник з експлуатації (22 сторінок)
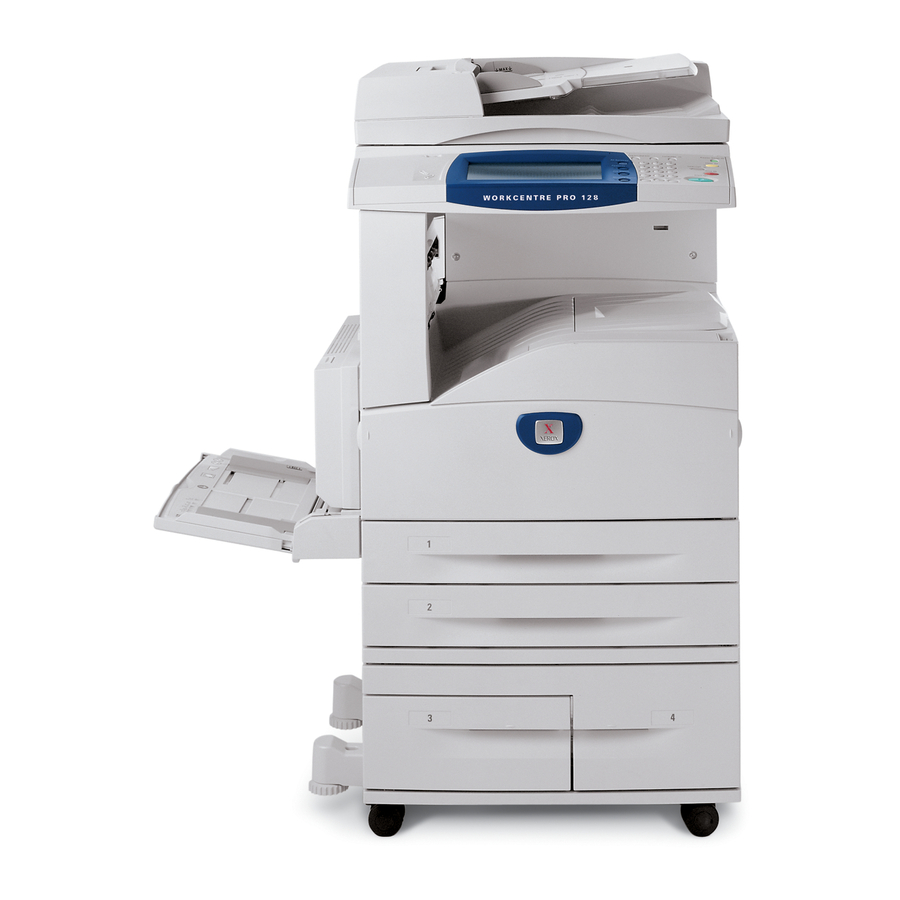
Xerox M123 WorkCentre Посібник зі швидкого налаштування мережі
Procedures for manual setup of network using Static IP Address:
Step 1
: Power on the M123/M128 device.
Step 2:
Select on "Login/Logout". Enter the UserID (11111). Select "System Settings"
"System Settings"
Step 3
: Select "IP address" and Press "Change Settings". Enter the IP address of the
machine. If there is an incorrect IP address in the field hit the Clear button once to delete the
incorrect IP address.
For Example:
To enter in our example IP address of 10.224.40.57, type 10 then press the "Next" key. Type 222
(There is no need to hit the" Next" key now because the octet field is full. In this case, the cursor
selection automatically moves to the next octet field of the IP address). Type 40 then press the
"Next" key, and then type 57. Press the Exit key when done.
Step 4
: Enter in the Default Gateway, Subnet Mask.
N
OTE
DNS setting must be entered through the Internet Services
:
Step 5
: From a workstation, open a web browser (such as Internet Explorer). Type in the URL,
http://xxx.xxx.xxx.xxx
you should be presented with the M123/128 device's CentreWare Internet Services web page
(see Figure 1).
Step 6: Load the Print Drivers on the workstations that will be accessing the M123/M128 device.
For more detailed instructions, see the System Administrator Guide.
N
OTE:
The Default Gateway, Subnet Mask and DNS address settings can be entered via
CentreWare Internet Services if the device is on the same subnet as the workstation. To access
them via CentreWare Internet Services type in the M123/128 device's IP address in the Url. Click
on the Properties tab, then click the Protocols Settings folder, Click on the TCP/IP. See
example on the next page.
QNS
"Network Settings"
(the xxx's represent the M20 device's IP address). If connected properly,
Page 6 of 7
Protocol Settings.
.
701P42078