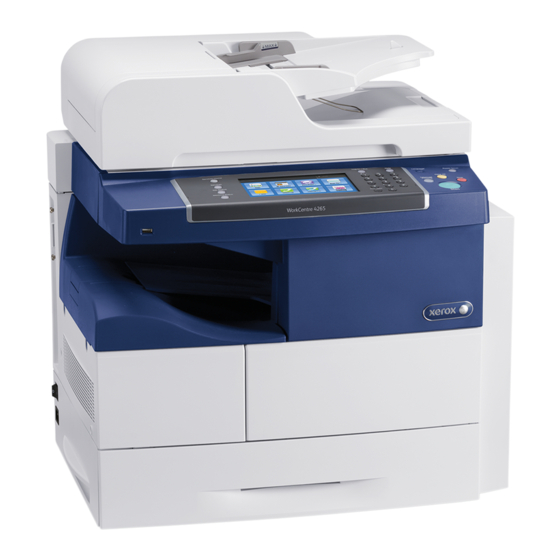
At the printer control panel, press the Machine Status button, then touch the Tools tab.
Touch Device Settings, then touch General.
Touch Set Zone, Date, Time.
Select the applicable time zone and touch Next.
Set the date format option and touch Next.
Set the month, day and year and touch Next.
Set the time (hour and minutes).
Click Done.
Set the date and time from the Web UI by performing the following:
In CentreWare Internet Services, click Properties > General Setup.
Click Date and Time.
Select the applicable time zone, select the date and time format option and set the date (month, day, year) and
time (hour and minutes).
Click Apply.
3. Embedded Fax:
Ensure that Embedded Fax is properly installed.
Set Embedded Fax parameters and options via the Local User Interface on the machine by following the
instructions for "Fax" in Section 8 of the SAG.
Enable and set (Embedded Fax) Secure Receive passcode from the Control Panel by following the instructions for
"Setting Incoming Fax Defaults" under "Setting Fax Defaults" under "Fax" in Section 8 of the SAG
Enable Fax Forwarding on Receive and establish up fax forward rules from the Web UI by following the instructions
for "Fax Forwarding" under "Fax" in Section 8 of the SAG. Only add E-mail addresses to the fax forward rules
established by setting the 'Forward To' option to Email Address.
The Local Polling option and embedded fax mailboxes should not be set up or used at any time.
Remote Polling should only be used by the System Administrator.
Printing of Embedded Fax reports is not included in the evaluation.
4. Scan to Email:
Configure encryption and signing of Scan to Email jobs by following the instructions for "Configuring Email Security
Settings" under "Email" in Section 7 of the SAG.
Configure authentication and encryption of SMTP to send Scan to Email jobs or to forward received Embedded
Faxes via email by following the instructions in "Configuring SMTP Server Settings" under "Email" in Section 7 of
the SAG.
6. Workflow Scanning:
To configure a file repository for Workflow Scanning follow the instructions for "Configuring File Repository
Settings" under "Workflow Scanning" in Section 7 of the SAG
To configure a template pool repository perform the following:
In CentreWare Internet Services, click Properties > Services.
Click Workflow Scanning > Advanced > Template Pool Setup.
Under Settings, select the desired protocol from the menu.
Type the required information for the protocol. Follow the same steps used for setting up a file repository for
the protocol.
Note: The format for a directory path for FTP is /directory/directory, while the format for a directory path for
SMB is \directory\directory.
Click [Apply] to save the new settings.
When configuring either workflow scanning file repositories or template pool repositories set the transfer protocol
to be HTTPS.
5

