Xerox Nuvera 100 Посібник з експлуатації - Сторінка 31

Переглянути онлайн або завантажити pdf Посібник з експлуатації для Програмне забезпечення Xerox Nuvera 100. Xerox Nuvera 100 34 сторінки. Production system
Також для Xerox Nuvera 100: Технічна специфікація (2 сторінок), Посібник з експлуатації (34 сторінок), Посібник з планування (22 сторінок), Посібник користувача (40 сторінок), Довідковий посібник (2 сторінок), Посібник з планування (20 сторінок), Довідковий посібник (42 сторінок), Короткий довідник (2 сторінок), Посібник з інсталяції (2 сторінок), Додатковий посібник (48 сторінок), Посібник з планування (38 сторінок), Посібник з планування (16 сторінок), Довідковий посібник (2 сторінок), Технічні характеристики (2 сторінок), Посібник з підказками та порадами (18 сторінок), Посібник з підказками та порадами (18 сторінок), Посібник для початківців (26 сторінок), Посібник для початківців (30 сторінок)
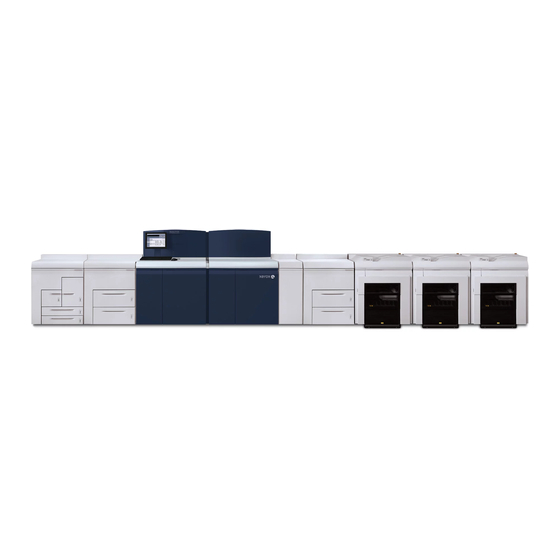
Xerox Nuvera 100 Посібник з експлуатації

Mode switching problems

Information to have when calling for service

NPS/IPS Extension Operations Guide
4 Problem solving
This chapter describes how to solve some specific problems that
may occur when you are switching from one mode to another.
Use the following information if you experience problems when
switching print modes.
Table 4-1 Mode switching problems
Condition
Does not boot
from EPS to
NPS/IPS print
mode.
In the United States, if you are unable to correct the problem, call
the following number:
1-800-822-2979
For customers outside the United States, call your local service
representative. A model-specific phone number is attached to
your printer at installation time.
Before you call, make note of the following:
Status code numbers and messages that appear on the
controller screen and the printer console
Indicator lights that are lit
Possible causes
External rigid disk
drive is not powered
ON (LED on the right
front of the external
disk drive is not
illuminated).
SCSI cable between
external rigid disk
drive and processor
is not properly
connected.
Corrective actions
Ensure that the drive is
plugged into the power
strip at the rear of the
controller stand.
Ensure that the SCSI
cable is connected to
the single-ended SCSI
connector on the rear
of the processor unit.
4-1