Xerox WorkCentre M118 Посібник з програмного забезпечення - Сторінка 43

Переглянути онлайн або завантажити pdf Посібник з програмного забезпечення для Програмне забезпечення Xerox WorkCentre M118. Xerox WorkCentre M118 47 сторінок. Drum cartridge remanufacturing
Також для Xerox WorkCentre M118: Посібник користувача (2 сторінок), Посібник по модулю (2 сторінок), Картка швидкого встановлення (2 сторінок), Посібник з швидкого налаштування (5 сторінок), Посібник з швидкого налаштування (5 сторінок), Посібник (28 сторінок), Інструкція з монтажу стенду (4 сторінок), Посібник з монтажу (2 сторінок), Посібник з монтажу (2 сторінок), Посібник з монтажу (2 сторінок), Посібник з монтажу (2 сторінок), Посібник з монтажу (2 сторінок), Посібник з монтажу (1 сторінок), Посібник з монтажу (1 сторінок), Посібник для початківців (25 сторінок), Посібник для оцінювачів (12 сторінок), Посібник з експлуатації (12 сторінок), Інструкція з відновлення (14 сторінок)
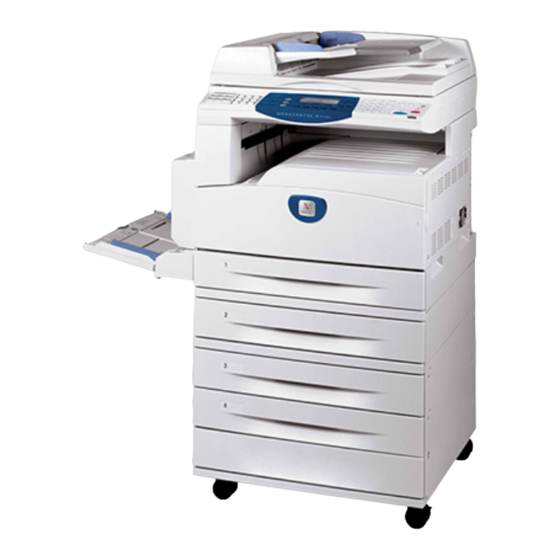
Xerox WorkCentre M118 Посібник з програмного забезпечення
Use Larger Size (Adjust to Fit) - Selects paper larger than the original and
automatically adjusts the image size as necessary.
Use Larger Size (No Zoom) - Selects paper larger than the original and prints the
same size as the image.

Installing the Screen Fonts

This section explains how to install the fonts in the Screen Font folder.
It is recommended that all other applications are closed before installing the fonts.
Otherwise, a warning message appears between steps 5 and 6.
1.
Start the Macintosh and insert the PostScript Driver Library CD-ROM into the
CD-ROM drive.
2.
Double-click the [WorkCent-PS] icon followed by the Screen Font folder and then
the [PS3 Fonts Installer].
3.
When the Installer window appears, click [Continue].
The license agreement dialog appears.
4.
Read through the agreement carefully and if you have no objections to it, click
[Accept].
The PS3FontsInstaller dialog box appears.
5.
You may select [Easy Install] or [Custom Install].
Easy Install - installs all the fonts provided in the Screen Font folder.
Custom Install - installs the selected fonts only. Simply click on the triangle arrow
beside the four categories of fonts to display the fonts in each category and then
check the fonts to be installed. For example, the diagram below shows that Arial CE
of the CE TrueType fonts is selected.
A warning message will appear if you did not quit all other applications before
performing the font installation.
6.
Click [Install].
The installation of the fonts begins.
Xerox WorkCentre 118 Postscript® User Guide
5 Operation on Macintosh Computers
43