Xerox WorkCentre M118i Посібник з програмного забезпечення - Сторінка 25

Переглянути онлайн або завантажити pdf Посібник з програмного забезпечення для Програмне забезпечення Xerox WorkCentre M118i. Xerox WorkCentre M118i 47 сторінок. Copy/print/fax/email
Також для Xerox WorkCentre M118i: Посібник користувача (2 сторінок), Посібник по модулю (2 сторінок), Картка швидкого встановлення (2 сторінок), Посібник з швидкого налаштування (5 сторінок), Посібник з швидкого налаштування (5 сторінок), Посібник (28 сторінок), Інструкція з монтажу стенду (4 сторінок), Посібник з монтажу (2 сторінок), Посібник з монтажу (2 сторінок), Посібник з монтажу (2 сторінок), Посібник з монтажу (2 сторінок), Посібник з монтажу (2 сторінок), Посібник з монтажу (1 сторінок), Посібник з монтажу (1 сторінок), Посібник для початківців (25 сторінок), Посібник для оцінювачів (12 сторінок), Посібник з експлуатації (12 сторінок)
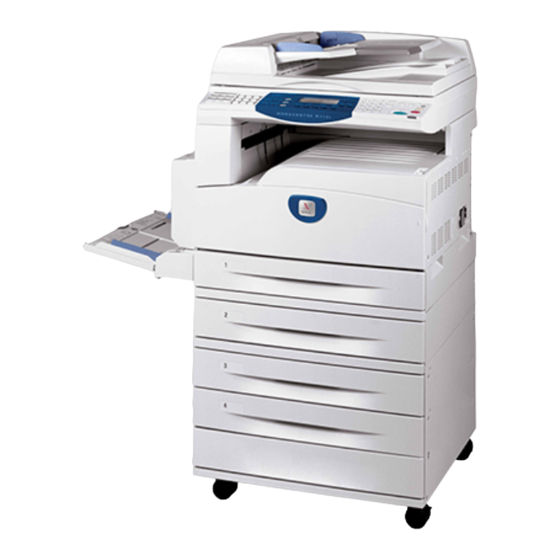
Xerox WorkCentre M118i Посібник з програмного забезпечення
network in the TCP/IP(LPD) environment. Otherwise, select [Network printer]. The
following is an example of a Local printer.
NOTE: When you select [Local printer], deselect the "Automatically detect and install
my Plug and Play printer" check box.
NOTE: Specify the target printer in the Connect to printer dialog box if you selected
[Network printer].
6.
Select the port you are using and click [Next].
When the printer is connected in the TCP/IP(LPD) environment:
1) Click [Create a new port].
2) Select Standard TCP/IP Port in the Type list and click [Next].
3) Click [Next].
4) Enter the IP address of the printer in [Printer Name or IP Address], then click
Click [Finish] in the dialog box that will be displayed.
7.
Insert the PostScript Driver Library CD-ROM in the CD-ROM drive.
8.
Click [Have Disk].
9.
Enter "Drive Name:\English\PrinterDriver\win2000" in the "Copy manufacturer's
files from:" box and click [OK].
In this guide, we have used "E:" as the CD-ROM drive. If you are using a different
drive for the CD-ROM, specify accordingly.
NOTE: Click [Browse] to specify a folder on the CD-ROM.
10.
Select your printer model from the Printers list and click [Next].
11.
Enter the printer name, set whether you want to use it as the default printer, and
click [Next].
12.
Select [Do not share this printer] and click [Next].
We recommend that you install the driver on each computer with the procedure
appropriate to the Operating System.
13.
Specify whether or not to print a test page, then click [Next].
14.
After confirming the settings displayed, click [Finish].
NOTE: If the dialog box "Digital Signature Not Found" appears, click [Yes] to continue
the installation.
Installation begins.
15.
Confirm that the printer has been added in the Printers window.
This completes the installation of the printer driver. Remove the CD-ROM from the
drive.
See Device Options and Print Settings on page 26 to configure the printer.
Store your CD-ROM in a safe place.
Xerox WorkCentre 118 Postscript® User Guide
4 Operation with Windows 2000, Windows XP and Windows Server 2003
[Next].
25