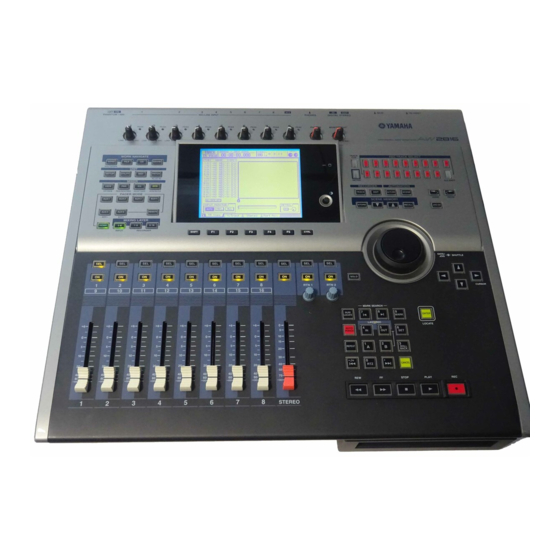
Yamaha AW2816 Посібник - Сторінка 32
Переглянути онлайн або завантажити pdf Посібник для Музичний інструмент Yamaha AW2816. Yamaha AW2816 32 сторінки. Professional audio workstation, recording101
Також для Yamaha AW2816: Посібник з експлуатації (2 сторінок), Посібник з оновлення (2 сторінок), Навчальний посібник (31 сторінок)

4) Adjust the Effects Return levels with the Blue RTN 1 and RTN 2 knobs as desired.
Bouncing Tracks when Recording on a AW2816
If more Tracks are needed in the AW2816 for recording it is possible to bounce several Tracks to either a
single Track, or to two separate Tracks for a stereo mix. For this to happen the destination Track(s) must
be selected and set to record from a Bus. Also, the Track(s) being bounced together must be assigned to
that same Bus.
1) Assign the bounce Track(s) to a Bus:
a) Press the [PATCH] key then the [F1] key to access the 'SET UP/Patch In' screen.
b) Press the
'RECORDER TRACK INPUT ASSIGN' section and highlight the input assignment of the
destination Track.
c) Turn the 'JOG/DATA' wheel to select one of the 8 Busses of the AW2816 from which the
destination Track will record.
2) Assign the record Track(s) to a Bus, or Busses:
a) Press the [PAN] button and the [F3] buttons. The 'PAN/ROUTE' page will display.
b) Use the
assignment section of the first Track that is to be bounced and highlight the bus that was
selected in step 1 as the source from which the destination Track will record.
c) Press the [ENTER] button.
d) Repeat steps 2.c - 2.d for any other Tracks that are to be bounced together onto the
destination Track.
3) Bounce the selected Track(s):
a) Press the appropriate [1] - [16] button in the 'REC TRACK SELECT' section for the
selected destination Track.
NOTE: If the Tracks are being bounced to two separate Tracks to form a stereo mix, then
repeat steps 1.a - 3.a to set up a second destination Track. When assigning tracks to two
Busses, panning the source Track all of the way to the left will send it only to the odd
numbered Bus and panning the source Track all of the way to the right will send it to the even
numbered Bus.
b) Press the [PLAY] and [RECORD] buttons to record onto the destination Track(s).
or 'CURSOR' buttons to move the cursor to the
'CURSOR' buttons to move the cursor to the bus
29
