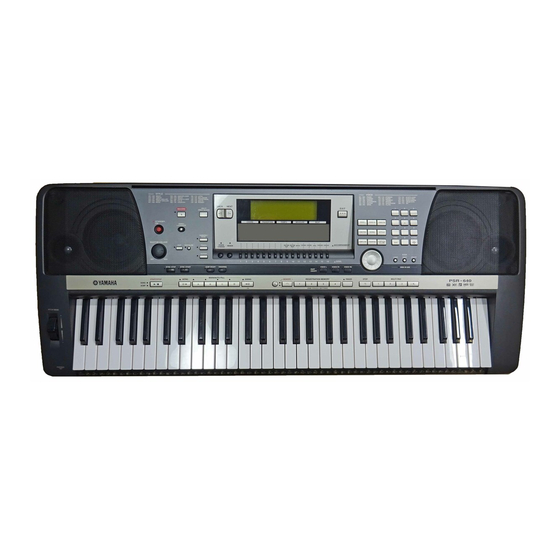
Yamaha PortaTone PSR-740 Покрокові процедури - Сторінка 10
Переглянути онлайн або завантажити pdf Покрокові процедури для Музичний інструмент Yamaha PortaTone PSR-740. Yamaha PortaTone PSR-740 21 сторінка.
Також для Yamaha PortaTone PSR-740: Посібник з експлуатації (18 сторінок)

16) Use the DATA DIAL, [-/NO] and [+YES] buttons, or Numeric Keypad to
select an Auto Accompaniment Style.
17) Press one of the [MAIN A] – [MAIN D] buttons to select the first section
that will play (red LED illuminates).
18) If an Introduction to the Song is desired, press the [INTRO] button (red
LED illuminates).
19) Press the [EXIT] button to return to Record mode.
20) Press the [NEXT] button.
21) To start recording the Auto Accompaniment, press the [START/STOP]
button or play a chord in the Auto Accompaniment section of the
keyboard.
22) To stop recording the Auto Accompaniment, press either the
[START/STOP] button for an immediate stop, or the [ENDING] button for
an appropriate ending.
23) The screen will display 'OK to save the data?'. Press the [+/YES] button to
save the recording to the floppy disk, or press the [-/NO] button to record
the Auto Accompaniment over again.
Recording Individual Instrument Tracks:
1) Select the 'PART' page to choose the Parts that Tracks 1 – 8 will record
from:
a) If the Accompaniment Parts for the Song have already been recorded
using the steps above, press the [BACK] button to display the 'PART'
page.
b) If each Track of the Song is to be recorded 'from scratch' without any
Auto Accompaniment, perform steps 1 – 8 in the section above.
2) Select Track 1 (for example) by pressing the [1] button under the screen.
3) If recording from the 'Voice R1' section of the keyboard (normally used for
individual Parts), use the DATA DIAL or [-/NO] and [+YES] buttons to
select 'RIGHT1' in the screen.
4) Press the [NEXT] button to display the Song Record 'MODE' page, where
Tracks can be selected for recording.
5) Press the [1] button under the screen to select Track 1.
