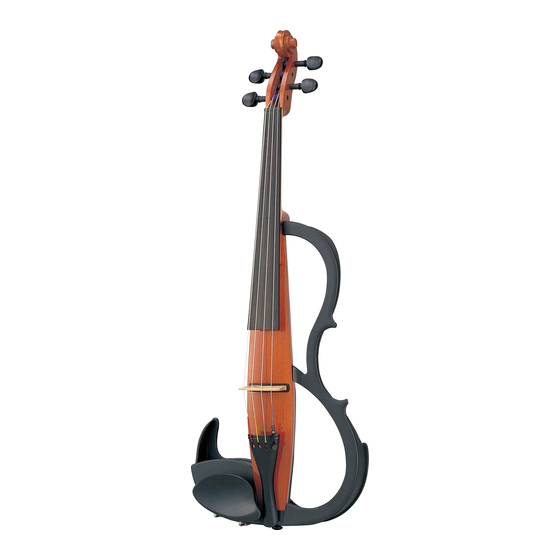
Yamaha Silent Viola SVV-200 Посібник з експлуатації - Сторінка 13
Переглянути онлайн або завантажити pdf Посібник з експлуатації для Музичний інструмент Yamaha Silent Viola SVV-200. Yamaha Silent Viola SVV-200 23 сторінки. Yamaha silent viola owner's manual
Також для Yamaha Silent Viola SVV-200: Посібник користувача (16 сторінок)

INSPECTION
1.
Preparation
To check the unit, following jigs are required.
• Stereo Inner phones (Headphones)
• Powered speaker
• Battery (S-006P x 1)
Load a battery into the product.
Connect headphones and a powered speaker to [PHONE] jack and [LINE OUT] jack respectively.
Perform each inspection aurally or visually.
Set each control as follows.
[VOLUME] knob : Minimum
[EQ CTRL] dial : Minimum
[EQ MODE] switch: EQ MODE 2
2.
Inspection Procedure
2-1
Power supply and Volume
Turn on the [POWER ON/OFF] switch with the [EQ MODE] switch set to "EQ MODE2", and confirm that the LED
illuminates red.
About 2 seconds after turning on the power, play strings and turn the [VOLUME] knob from minimum to maximum
position, and confirm that the sound volume of headphones or a speaker changes continuously.
Besides, confirm that the no mechanical noise is generated and that the knob can be turned smoothly without interfer-
ence of external fittings.
Next, set the [EQ MODE] switch to "EQ MODE1", and confirm that the LED turns to green.
Finally, confirm that no noise is generated when the [POWER ON/OFF] switch is turned on or turned off.
2-2
Tone Control
Play a string with fingers and turn the [EQ CTRL] dial from minimum to maximum position. And confirm that high
frequencies are gradually emphasized.
Besides, confirm that the no mechanical noise is generated and that the dial can be turned smoothly without interfer-
ence of external fittings.
POINTS TO CHECK WHEN NOISE HAS OCCURED
When a mechanical noise is produced, check and adjust the following points.
1
2
1.
When the adjusting screw protrudes too much it makes a noise; make
sure the adjuster screw is not too loose.
2.
Make sure the adjuster fixing screw is tightened.
3.
When the bridge is inclined or touches the escutcheon edge, place the
bridge in the center of the escutcheon and slightly incline it towards
the tailpiece side, so that the bridge is aligned at 90 degrees to the
escutcheon after the strings has been tuned.
SVV-200
13
