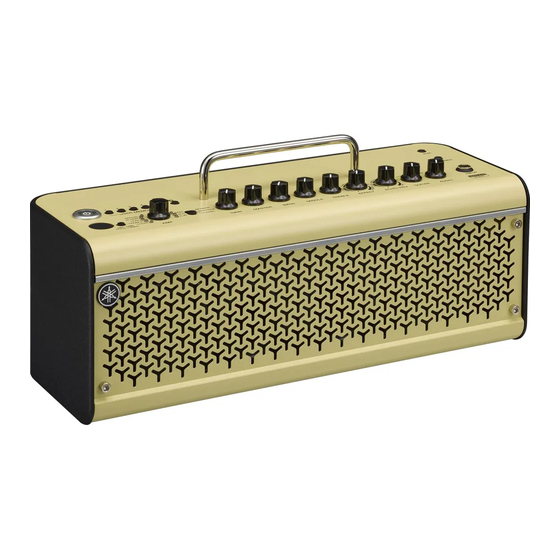
Yamaha THR5 Посібник користувача - Сторінка 3
Переглянути онлайн або завантажити pdf Посібник користувача для Підсилювач Yamaha THR5. Yamaha THR5 21 сторінка. Thr series
Також для Yamaha THR5: Посібник користувача (23 сторінок), Посібник користувача (22 сторінок), Посібник (14 сторінок), Посібник користувача (20 сторінок), Посібник користувача (20 сторінок), Посібник із швидкого старту (5 сторінок)

This device complies with Part 15 of the FCC Rules. Operation is subject to the following two
conditions:
(1) this device may not cause harmful interference, and (2) this device must accept any inter-
ference received, including interference that may cause undesired operation.
This Class B digital apparatus complies with Canadian ICES-003.
Cet appareil numérique de la classe B est conforme à la norme NMB-003 du Canada.
For U.K. customers
If the socket outlets in the home are not suitable for the plug supplied with this appliance, it
should be cut off and an appropriate 3 pin plug fitted. For details, refer to the instructions de-
scribed below.
Note
The plug severed from the mains lead must be destroyed, as a plug with bared flexible cord is
hazardous if engaged in a live socket outlet.
SPECIAL INSTRUCTIONS FOR U.K. MODEL
IMPORTANT NOTICE FOR THE UNITED KINGDOM
WARNING: THIS APPARATUS MUST BE EARTHED IMPORTANT.
The wires in this mains lead are coloured in accordance with the following code:
GREEN-AND-YELLOW : EARTH
BLUE : NEUTRAL
BROWN : LIVE
As the colours of the wires in the mains lead of this apparatus may not correspond with the
coloured markings identifying the terminals in your plug proceed as follows:
The wire which is coloured GREEN-and-YELLOW must be connected to the terminal in the
plug which is marked by the letter E or by the safety earth symbol
GREEN-and-YELLOW.
The wire which is coloured BLUE must be connected to the terminal which is marked with
the letter N or coloured BLACK.
The wire which is coloured BROWN must be connected to the terminal which is marked with
the letter L or coloured RED.
Connecting the Plug and Cord
or colored GREEN or
(3 wires)
3
