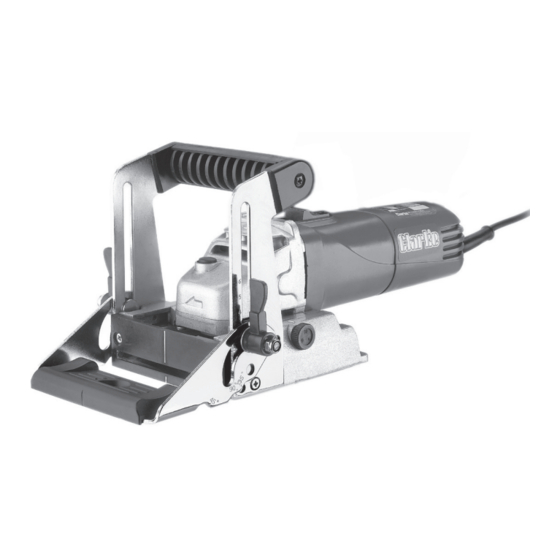
Clarke 6462070 Інструкція користувача - Сторінка 9
Переглянути онлайн або завантажити pdf Інструкція користувача для Електроінструмент Clarke 6462070. Clarke 6462070 17 сторінок. Biscuit jointer

MAKING EDGE TO EDGE JOINTS
NOTE: Always unplug the biscuit jointer before making any adjustments.
1.
Draw a reference mark 'A' at 90° to the centre point of each proposed joint
location 'B', space additional joints along the timbers edge approx. 100mm
apart.
2.
Clamp the work piece securely so
that it will not move during the cut.
3.
Set the plunge depth to the size of
biscuits to be used. No.20 biscuits are
generally suitable for most
applications. If you are using stock
which is 15mm or less in thickness
then smaller biscuits will be required.
4.
Unlock the bevel adjustment levers
and adjust the angle of the fence
to 90°. Set the height of the fence
as required and re-lock the bevel
adjustment levers.
5.
Hold the tool with one hand on the handle and the other hand on the motor
body.
6.
Rest the fence on the work piece and align the centre marking on the tool
with the line marked on the work piece.
7. Switch the tool on by sliding the ON/OFF switch forward as far as possible.
Latch the switch in the ON position by pressing down on the front of the
switch, (the motor will run continuously).
8.
Maintaining a downward pressure on the fence, plunge the blade into the
work piece by pushing the whole tool forwards up to the stop until the cut is
complete.
9.
Release the forward pressure and allow the tool to return so the blade is
clear of the work piece. Switch the tool OFF by pressing on the back of the
ON/OFF switch.
10. ALWAYS allow the motor to stop before removing the tool from the work piece.
11. Repeat steps 5 - 11 until all slots are cut.
12. Once all biscuit slots have been cut, place a biscuit in each joint and dry
assemble the work pieces. Check that each joint lines up and fits.
13. Disassemble the work pieces and place a bead of glue in each slot, also
spread glue over the entire surface of the joint.
14. Reassemble the work pieces and clamp together until the glue has set.
OPERATION
A
- 8 -
B
