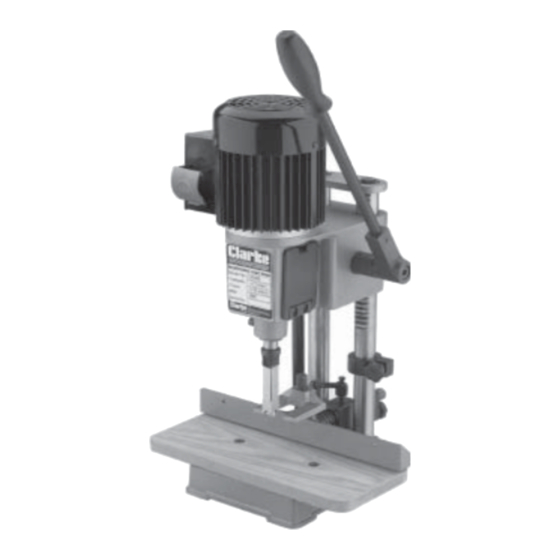
Clarke CBM 2B Інструкція з експлуатації та обслуговування - Сторінка 14
Переглянути онлайн або завантажити pdf Інструкція з експлуатації та обслуговування для Електроінструмент Clarke CBM 2B. Clarke CBM 2B 19 сторінок. Mortising machine

OPERATION
1.
Set the fence to suit the position of the mortise on the workpiece. Make sure
the fence and chisel are square to each other (see p13), and tighten in place.
Make any fine adjustments to the fence, to move the workpiece in or out, by
using the adjuster at the rear of the fence (see p12).
3.
Set the depth stop to the required depth of cut as described on page 13.
4.
Ensure the Hold Down rests gently on the surface of the workpiece, but not so
tight as it prevents the workpiece from moving, and lock into position. If
necessary, use packing pieces between the workpiece and the hold down
When working on long workpieces, support the timber along its length.
5.
Ensure the workpiece is held firmly against the fence.
Switching ON and OFF
6.
The ON-OFF switch is located on the motor. Raise the Red cover marked OFF,
and push the GREEN button to switch the machine ON.
Push the RED button or the Red cover to switch the machine OFF.
NOTE:
The switch is a No Volt Release type. If the supply is interrupted, the ON/OFF switch
will automatically revert to the OFF position. This is a safety device to prevent the
machine from starting again, should the supply be restored.
7.
With the machine running, feed the chisel and bit steadily into the workpiece
by pulling down on the operating handle.
NOTES:
•
It is recommended that you check the position, and depth of cut, on a piece
of scrap before cutting your workpiece.
•
The rate of penetration of the chisel must be fast enough to prevent burning at the
tip of the bit, but not so fast as to cause the machine to slow or stall. With experience
you will find suitable feed rates to suit various types of timber.
•
You may encounter smoke from the bit or material once the chisel has engaged
the material. The smoke created is a natural operating occurrence in hollow chisel
mortising and is caused by material chip friction and the resins in the stock being
burned off. Bluing of the chisel after initial use is not indicative of a dull chisel, but a
combination of friction and resin buildup on the cutting faces of the chisel.
•
A dull chisel can be detected by the amount of excess force required to
complete a cut.
•
After the first cut, the workpiece must be moved along in the correct direction
relative to the slot in the chisel, to allow chips to clear freely. Move the workpiece
so that the chisel slot is releasing chips into the already cut part of the mortise.
14
