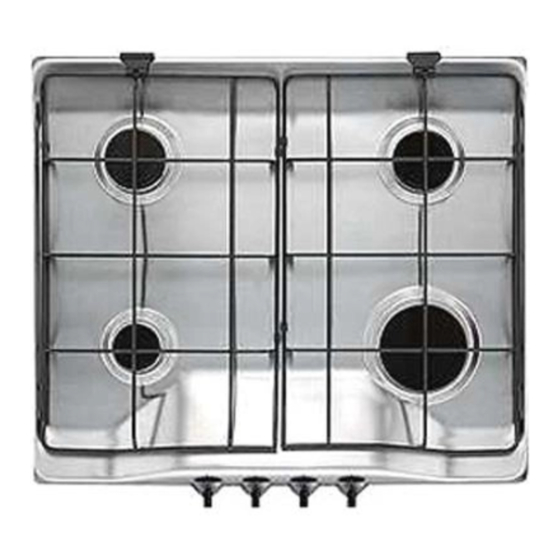
Zanussi ZGF 646 Посібник з експлуатації та встановлення - Сторінка 4
Переглянути онлайн або завантажити pdf Посібник з експлуатації та встановлення для Варильна поверхня Zanussi ZGF 646. Zanussi ZGF 646 12 сторінок. Gas hobs

THE HOB LID
In order to make the appliance match with the kitchen
design, a lid (not provided) can be fitted on the hob.
The lid is meant to avoid dust to settle on the hob,
when it is closed, and to collect splashes of oil or
fat, when it is open. Do not use it for any other
purpose.
Always wipe off any splash of liquid before
opening the lid.
2. Cleaning and Maintenance
•
Disconnect the appliance from the electrical
supply, before carrying out any cleaning or
manteinance work.
GENERAL CLEANING
Wash the enamelled components with warm soapy
water. Never use abrasive cleaners
Frequently wash the "caps" and the "crowns" with hot
soapy water, carefully taking away any built-up of food.
Carefully wash the stainless steel components with
water, then wipe them dry with a soft cloth.
If the marks are particularly difficult to remove, use
common non-abrasive cleaners or specific products.
Never use steel wool pads or acids.
AUTOMATIC IGNITION
The automatic ignition of the gas burners is obtained
through a ceramic "candle" and a metal electrode (fig.
1 lett. C). Keep these components well clean, to avoid
difficult lighting, and check that the burner crown holes
(lett. B) are not obstructed.
PAN SUPPORTS
The hobs are provided with enamelled pan supports
(thin and light - fig.2).To keep the pan supports in the
right position, they are hooked to a couple of special
hinges in the back of the hob.
Thanks to these hooks, you can lift the pan supports
for easier cleaning, as shown in fig. 3. To take the pan
supports completely off the hob, proceed as shown in
fig. 3.
The pan supports are dishwasher proof.
4
Always clean the lid from cooking residues before
opening it or taking it off.
WARNING! The crystal lid can splinter when
overheated. Always ensure all the burners are
off before closing it.
Hob with enamelled pan supports
Fig. 2
Fig. 3
