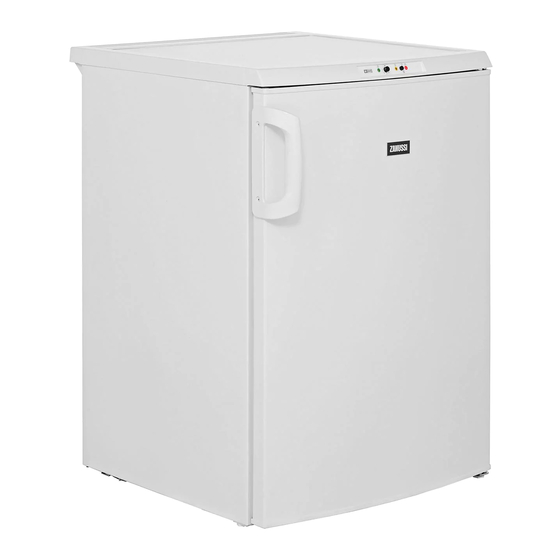
Zanussi ZFT11100WA Посібник користувача - Сторінка 4
Переглянути онлайн або завантажити pdf Посібник користувача для Морозильна камера Zanussi ZFT11100WA. Zanussi ZFT11100WA 16 сторінок. Zanussi freezer user manual
Також для Zanussi ZFT11100WA: Посібник користувача (16 сторінок)

• It is advisable to wait at least four hours be-
fore connecting the appliance to allow the oil
to flow back in the compressor.
• Adequate air circulation should be around the
appliance, lacking this leads to overheating.
To achieve sufficient ventilation follow the in-
structions relevant to installation.
• Wherever possible the back of the product
should be against a wall to avoid touching or
catching warm parts (compressor, condens-
er) to prevent possible burn.
• The appliance must not be located close to
radiators or cookers.
• Make sure that the mains plug is accessible
after the installation of the appliance.
• Connect to potable water supply only (If a
water connection is foreseen).
Service
• Any electrical work required to do the servic-
ing of the appliance should be carried out by
a qualified electrician or competent person.
Control panel
Green Indicator Light
1
Red Indicator Light
2
Temperature Regulator
3
Half Loaded position
4
Full Loaded position
5
Switching on
1. Allow the appliance to stand for 4 hours af-
ter installation.
2. Insert the plug into the wall socket.
3. Turn the Temperature Regulator clockwise
to the Full Loaded position.
4
2
1
• This product must be serviced by an author-
ized Service Centre, and only genuine spare
parts must be used.
Environment Protection
This appliance does not contain gasses
which could damage the ozone layer, in ei-
ther its refrigerant circuit or insulation materials.
The appliance shall not be discarded together
with the urban refuse and rubbish. The insula-
tion foam contains flammable gases: the appli-
ance shall be disposed according to the appli-
cable regulations to obtain from your local au-
thorities. Avoid damaging the cooling unit, espe-
cially at the rear near the heat exchanger. The
materials used on this appliance marked by the
symbol
are recyclable.
4. The Green Indicator Light will light up and
remain lit until the appliance is switched off
at the mains.
5. Leave to run for 4 hours to allow the correct
temperature to be reached before placing
food inside.
Yellow Indicator Light lights in the switch-
ed-on state of the Freezer Switch.
6. The Red Indicator Light will also illuminate
until the correct temperature is reached.
A few hours after starting up the Red Indi-
cator Light will go out to show that the cor-
rect temperature has been reached for the
3
4
5
0
www.zanussi.com
