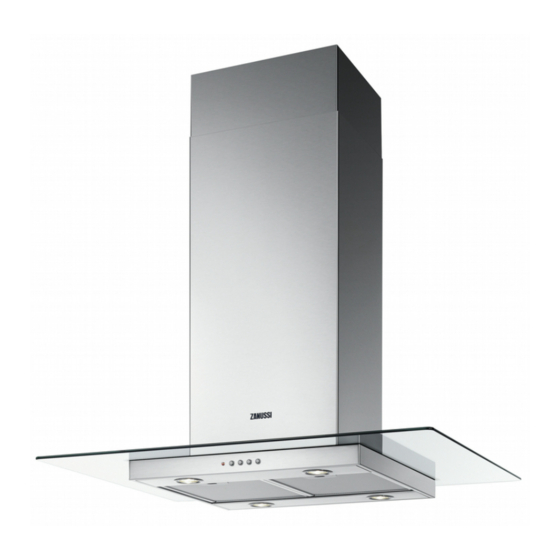
Zanussi ZHC960 Інструкція з експлуатації - Сторінка 14
Переглянути онлайн або завантажити pdf Інструкція з експлуатації для Вентиляційна витяжка Zanussi ZHC960. Zanussi ZHC960 17 сторінок. Zanussi owners manual ventilation hood zhc960
Також для Zanussi ZHC960: Інструкція з експлуатації Посібник з експлуатації (13 сторінок)

Extraction (Ducted)
The cooker hood is more effective when
installed in the extraction mode (ducted to the
outside).
Venting kits may be purchased through your
retailer or DIY store or using the enclosed form,
and must be evacuated through an outside vent
of ∅125 (5ins) or ∅150mm (6ins).
The ducting used must be manufactured from
fire retardent material conforming to the
relevant British Standard or DIN 4102-B1.
When the cooker hood is ducted to the
outside the charcoal filter must be removed.
Fitting the Ducting
Fit the ∅150mm (6ins) ducting to the
•
spigot on top of the hood body as
illustrated.
When using ∅125mm (5ins) ducting fit
•
item 9 and 10 on to the spigot on the top
of the hood body as illustrated.
For the best performance use the shortest
•
possible run of ducting and we
recommend the use of rigid pipe in
preference to flexible hose as this will
improve the flow of air while reducing
turbulence, which causes causes noise
and a loss of performance.
If the room where the cooker hood is to be
•
used contains a fuel burning appliance
such as a central heating boiler, then its
flue must be be of the room sealed or
balanced flue type.
If other types of flue or appliances are
•
fitted ensure that there is an adequate
supply of air to the room.
The cooker ducting when fitted in the
•
evacuation mode must never be
connected to central heating flues,
radiators or water heaters.
Recirculation Mode
The cooker hood is supplied specified for use in
the recirculation mode, with the charcoal filter
fitted.
In the recirculation mode contaminated air is
passed through the charcoal filter to be purified
and recirculated into the kitchen through the grille
outlets on either side of the chimney.
INSTALLING THE COOKER HOOD
Page 14
