Blackberry Radar H2 Посібник з монтажу - Сторінка 3

Переглянути онлайн або завантажити pdf Посібник з монтажу для Радар. Blackberry Radar H2. Blackberry Radar H2 30 сторінок. Dry van, insulated trailers roll-up doors
Також для Blackberry Radar H2: Посібник з монтажу (33 сторінок), Посібник з монтажу (26 сторінок), Посібник з монтажу (25 сторінок), Посібник з монтажу (32 сторінок), Посібник з монтажу (33 сторінок), Посібник з монтажу (34 сторінок), Посібник з монтажу (35 сторінок), Інструкція з експлуатації (33 сторінок), Посібник з монтажу (32 сторінок), Посібник з монтажу (26 сторінок), Посібник з монтажу (25 сторінок), Посібник з монтажу (28 сторінок)
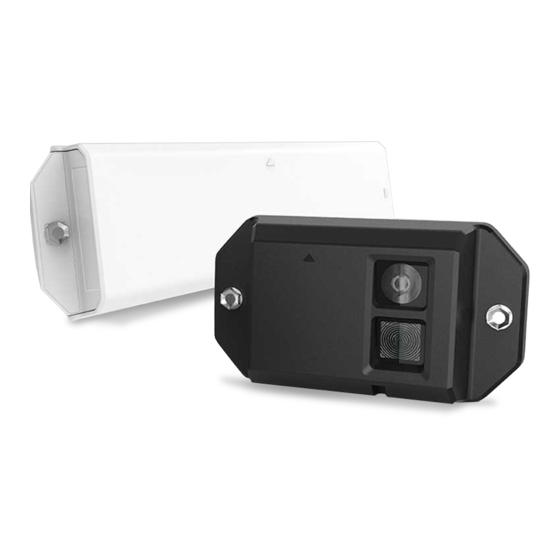
Blackberry Radar H2 Посібник з монтажу

1 Overview

This guide provides detailed instructions for installing and activating new BlackBerry Radar
H2 Gateway modules. It includes three main tasks:
Task 1: Get ready for installation (see Section 2)
Enter assets into the BlackBerry Radar Dashboard
Download the installation worksheet
Task 2: Install a BlackBerry Radar H2 Gateway module (see Section 3)
Match the module identifier with the asset identifier on the installation worksheet
Install the module onto the asset to be tracked.
Task 3: Activate the installed module (see Section 4)
Associate the module identifier with the asset identifier in the BlackBerry Radar
Dashboard
Track the asset on the Dashboard map
Complete BlackBerry Radar documentation is available online when you log in to
BlackBerry Radar Dashboard. For instructions on how to configure the BlackBerry Radar
Dashboard or how to modify your configurations, see the online Admin Guide. For
instructions on how to use the BlackBerry Radar Dashboard to view data, see the online
User's Guide.
BLACKBERRY RADAR H2 ITC100-1 INSTALLATION GUIDE 3