Blackberry Radar H2 Посібник з монтажу - Сторінка 5

Переглянути онлайн або завантажити pdf Посібник з монтажу для Радар. Blackberry Radar H2. Blackberry Radar H2 28 сторінок. Dry van, insulated trailers roll-up doors
Також для Blackberry Radar H2: Посібник з монтажу (33 сторінок), Посібник з монтажу (26 сторінок), Посібник з монтажу (25 сторінок), Посібник з монтажу (32 сторінок), Посібник з монтажу (30 сторінок), Посібник з монтажу (33 сторінок), Посібник з монтажу (34 сторінок), Посібник з монтажу (35 сторінок), Інструкція з експлуатації (33 сторінок), Посібник з монтажу (32 сторінок), Посібник з монтажу (26 сторінок), Посібник з монтажу (25 сторінок)
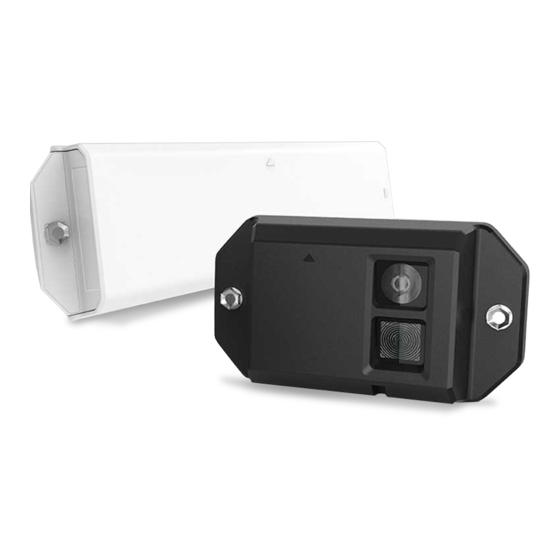
Blackberry Radar H2 Посібник з монтажу
BLACKBERRY RADAR H2 ITC100-1, ITC100-2, ITF100-1 INSTALLATION GUIDE

3 Installing BlackBerry Radar H2 modules

You may have a large number of BlackBerry Radar H2 modules to install. Follow the instructions
in this section to:
Match each module identifier to its asset identifier
Install the module to the asset you wish to track

3.1 Prepare to install

To complete the installation of the module to your assets, you will need the following
components. The following components are contained in the module packaging.
Radar H2 Module Package Contents
Radar H2 Module
Drill Template
Lithium Metal Battery
If you are missing any of the above components in your package, contact your BlackBerry Sales
Representative.
To attach the module to the asset you wish to track, you must supply your own fasteners.
Depending on the construction of your mounting location, you may wish to use the following
FLATBED AND HEAVY EQUIPMENT
.
Fastener Bag
(2 screws per device)
5