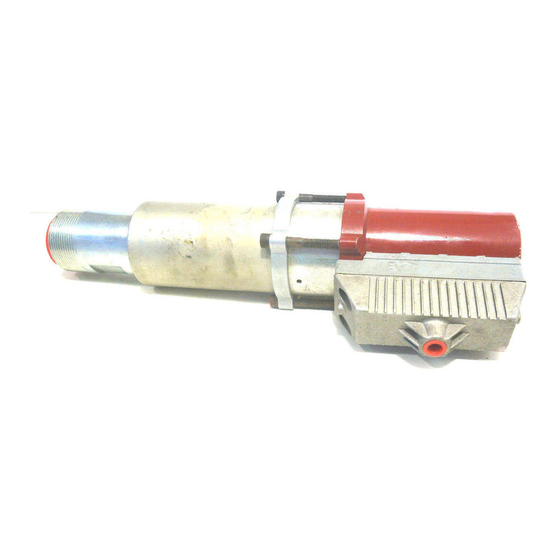
Alemite 9616-A Посібник з експлуатації - Сторінка 6
Переглянути онлайн або завантажити pdf Посібник з експлуатації для Водяний насос Alemite 9616-A. Alemite 9616-A 10 сторінок. Low-pressure transfer pump

SER 9616-A
Clean and Inspect
1. Clean all metal parts in cleaning solvent. The solvent
should be environmentally safe.
2. Inspect all parts for wear and/or damage.
• Replace as necessary.
3. Inspect Air Piston ( 6 ) and Fluid Piston ( 20 ) for fatigue
cracks.
• Replace as necessary.
4. Inspect Rod ( 18 ) closely. Use a magnifying glass to
detect any score marks on the Rod.
• Replace as necessary.
5. Closely inspect the mating surfaces of all check valve
components for any imperfections. Ensure a smooth
and clean contact is obtained when assembled.
EXAMPLE : Place Ball ( 29 ) into Seat ( 31 ).
Fill the Seat with solvent. Make sure no
leakage occurs.
Assembly
NOTE : Prior to assembly, certain compo-
nents require lubrication. Refer to Table 3
for details.
Pump Tube Assembly
NOTE : Refer to Figure 4 for a section view
of the pump tube assembly.
Outlet Body
1. Install and seat Seal (13) [stem end first], Lantern Ring
(14) [stepped end first], Seal (15) [stem end first], and
Washer (16) into Outlet Body (11).
2. Secure the components with Retaining Ring (17).
• Make sure the Retaining Ring seats properly in the
groove.
Item No.
Description
10
O-Ring, 2-3/4 " ID x 3 " OD (Lower)
13
Seal, 1/2 " ID x 3/4 " OD
15
Seal, 1/2 " ID x 7/8 " OD
7
O-Ring, 2-5/8 " ID x 3 " OD
8
O-Ring, 3/8 " ID x 1/2 " OD
Revision (10-98)
1-800-548-1191-http://[email protected]
3. Install O-Rings ( 10 ) onto both ends of the Outlet
Body.
4. Install Retaining Ring ( 19 ) onto Rod ( 18 ).
5. Install Fluid Piston ( 20 ) [segmented side first], Gasket
( 21 ), and Plate ( 22 ) [ground side first] onto the bottom
of the Rod.
6. Install Nut (5) that secures the Plate to the Rod.
• Tighten the Nut securely.
• Place an appropriate size punch or other suitable tool
Install the Rod assembly into the Body with a
twisting motion. Use care not to damage the Seals.
7. Install the Rod assembly into the bottom of the Outlet
Body.
• Position the Fluid Piston flush with the bottom of the
8. Install Washer ( 9 ), O-Ring ( 8 ), and Air Piston ( 6 )
(observe THIS SIDE UP] onto the Rod.
9. Install Nut ( 5 ) that secures the Air Piston to the Rod.
• Tighten the Nut securely.
• Place an appropriate size punch or other suitable tool
10. Install O-Ring ( 7 ) onto the Air Piston.
11. Screw Stop (23) into Cylinder (26) until it seats.
12. Install Pin ( 24 ) into the Stop.
• Make sure the Pin does not protrude from either side
Notes
Item No.
Clean Oil
25
Pump Tube Portion
30
33
Magnalube-G Teflon Grease
10
Coat the Inside Diameter of the Air Motor Assembly
Table 3 Lubricated Components
6
Low-Pressure Transfer Pump
IMPORTANT: Make sure the ground side of
Plate ( 22 ) contacts Fluid Piston ( 20 ).
into the hole of the Rod.
CAUTION
Body.
into the hole of the Rod.
of the Stop.
Description
O-Ring, 1-7/16 " ID x 1-5/8 " OD
O-Ring, 1-1/4 " ID x 1-3/8 " OD
O-Ring, 1-15/16 " ID x 2-1/8 " OD
O-Ring, 2-3/4 " ID x 3 " OD (Upper)
Notes
Air Motor Portion
Alemite Corporation
