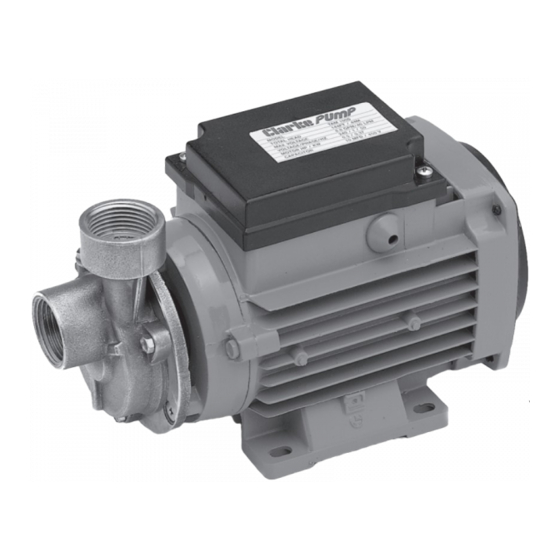
Clarke CEB101 7230020 Інструкція з експлуатації та обслуговування - Сторінка 3
Переглянути онлайн або завантажити pdf Інструкція з експлуатації та обслуговування для Водяний насос Clarke CEB101 7230020. Clarke CEB101 7230020 4 сторінки.

1
.
With the pump, all pipes/hoses and the foot valve in position, unscrew the
priming plug (small hexagon nut on top of pump body, adjacent to the pump
outlet) and fill to capacity with clean water. Replace the priming plug.
NOTE: As the filler hole is quite small, it is recommended that you fill the inlet pipe with water
before it is connected to the pump, and top up through the filler plug once the pipe is
connected.
2.
Adjust any device which may be fitted to the outlet side of the pump, so as to
ensure as great a flow as possible.
3.
Switch on the pump. Water should start to flow through the system.
Check for leaks and adjust the flow if necessary using the gate valve (or
other type of restriction) on the delivery side of the pump. Remember that
some resistance (head) is required on the outlet side of the pump to prevent
motor overload.
TROUBLE SHOOTING
If the system is set up properly, there is little likelihood of problems arising, but if
water will not flow as it should then check the following points:-
1.
The suction hose and connections including the filler plug need to be
completely air tight, otherwise air will be drawn in and either reduce or
completely stop the flow of water.
2.
Ensure that the system has been fully primed with water up to the level of the
filler plug.
3.
Check to see that no foreign matter is fouling the intake system and check
the filter is not blocked or obstructed.
4.
Check that the vertical height between the level of the water intake and the
ultimate discharge point does not exceed 38 metres. If this should be the
case then the height must be reduced.
Should you still experience problems, then contact your Clarke dealer, or CLARKE
International Service Department for advice.
6
ELECTRICAL CONNECTIONS
WARNING: THIS MACHINE MUST BE EARTHED.
I
nstallation should be carried out by a qualified electrician in accordance with
I.E.E. Regulations. However, in the further interests of safety we would emphasise
the following :-
This pump should be connected to a standard domestic 13 amp, 230 volt (50Hz),
electrical supply and we strongly recommend that the connection be made via
a Residual Current Device (RCD).
IMPORTANT: Should the supply be taken from a normal 13 amp socket, then the
plug used must be to BS 1363 standard, and the wires should be wired up in
accordance with the following colour code:
Green & Yellow .......... Earth or marked with a letter "E" or Earth symbol "
Blue ............................. Neutral or terminal marked with a letter "N"
Brown .......................... Live or terminal marked with a letter "L"
FUSE RATING
The fuse in the plug must be rated at 5 amps
WIRING CONNECTIONS FOR TAM100
Make electrical connections inside the terminal cover in accordance with the
instructions below:
From mains supply, connect:-
1. BROWN (Live) to terminal 1.
2. BLUE (Neutral) to terminal 2.
3. YELLOW/GREEN (Earth) to screw
terminal marked "
"
Cable Gland
Power Input Cable
To Motor
3
2
Capacitor
1
Green/Yellow
3
".
