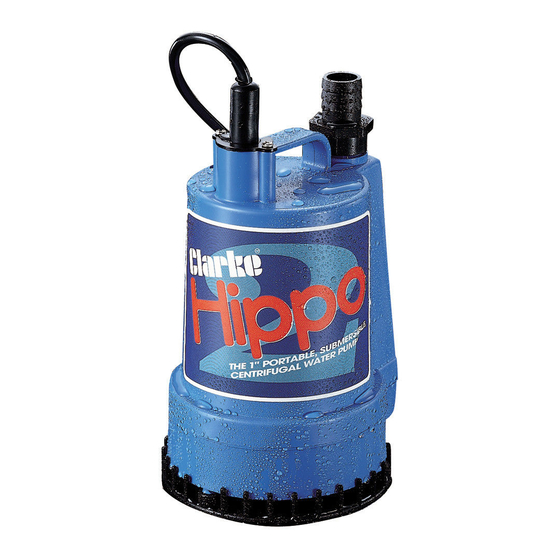
Clarke Hippo 2A Інструкція з експлуатації та технічного обслуговування - Сторінка 7
Переглянути онлайн або завантажити pdf Інструкція з експлуатації та технічного обслуговування для Водяний насос Clarke Hippo 2A. Clarke Hippo 2A 13 сторінок. Submersible pump
Також для Clarke Hippo 2A: Посібник з експлуатації та технічного обслуговування (8 сторінок)

3. Do not use the pump if the water is liable to freeze as this can damage the
pump. Remove the pump from the water and store it in a frost free
location.
4. Inspect the pump regularly to check that the base inlet is clear of leaves or
other debris. Any blockage of mud or leaves can be cleared by washing
the pump in fresh water, or by using a garden hose to flush fresh water
back through the pump outlet connector.
5. Never switch on the pump with the outlet connected to the mains water
supply. The mud pack (item 2) and screen/filter (item 6) can be removed
for cleaning if necessary. Remove the mud pack (3 screws around the
base), followed by the screen/filter (3 more screws) if necessary.
6. Keep watch and do not allow the pump to run dry.
• When fitted (Hippo 2A), the float switch will turn off the pump when the
water level drops to a low level.
7. When pumping is finished, disconnect the pump from the power supply.
MAINTENANCE
WARNING: BEFORE CHECKING THE CONDITION OF THE PUMP, ENSURE IT
IS UNPLUGGED FROM THE MAINS SUPPLY. IF THE UNIT IS HARD WIRED,
ENSURE THE CIRCUIT BREAKER IS OPEN.
This pump should require no maintenance other
than regular cleaning. If the pump starts to show
signs of wear or damage contact the Clarke
service department for advice. Do not use the
pump if there is any damage to the mains supply
cable. Do not attempt to repair the pump yourself
(other than to replace those parts listed below), as
you may invalidate your guarantee and damage
the waterproof seal of the pump.
To fit a new power lead, remove the two screws
and the retaining plate from around the power
lead connector plug and pull the plug from its
socket.
When replacing, the plug must be sealed using a
clear silicon sealant. Apply the sealant to the body
of the connector plug as shown in the diagram,
before inserting it into its socket and replacing the retaining plate and screws.
Parts & Service: 020 8988 7400 / E-mail: [email protected] or [email protected]
7
