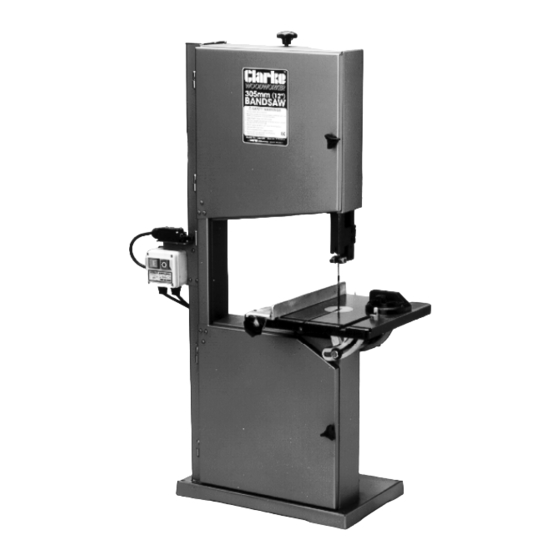
Clarke Woodworker CBS12WC Інструкція з експлуатації та обслуговування - Сторінка 6
Переглянути онлайн або завантажити pdf Інструкція з експлуатації та обслуговування для Пила. Clarke Woodworker CBS12WC. Clarke Woodworker CBS12WC 17 сторінок. 12”(305mm) & 14”(355mm)

ASSEMBLY
Plan your installation. Ensure adequate floor space is
available, with good lighting and ventilation, and an
adequate electrical supply is close at hand.
Any protective coating on the Band Saw should be
removed using a cloth moistened with paraffin.
DO NOT use acetone, petrol or paint thinners.
If you have not purchased the optional floor stand,
ensure the bandsaw is securely mounted on a strong
stable worktop, and of sufficient height so that you do
not have to bend your back to perform normal opera-
tions. Tighten the mounting bolts snugly, but take care
NOT TO overtighten.
If you have purchased the stand, it should be assem-
bled first. The main body of the machine is then lo-
cated and bolted down to it before assembly of other
components.
A. THE STAND ASSEMBLY
1. Attach the braces to the legs as shown in fig. 2,
using the inside set of holes on each brace, (i.e.the
length will be at its shortest). Ensure a flat washer
is located next to each nut. Do not tighten the
nuts at this stage.
2. Attach the stand platform to the legs but do not
tighten the nuts. Similarly, a flat washer should
be located next to each nut.
3. Ensure the stand assembly is resting on even,
level ground, and rock it to ensure that no part is
under stress, before tightening all nuts. Check to
ensure that the overall shape of the stand is
symmetrical, and is completely stable when all
nuts are tight and the platform is level.
Fig. 2
B. THE MOTOR
1. Locate the motor pulley and
slide it on to the motor shaft
with the boss facing
inwards.
2. Using a straight edge, align
the face of the pulley
with the end of the motor
shaft, as shown in the
diagram, and lock it in this
position by tightening the
hex. socket screw.
Motor
Pulley
Straight Edge
Motor
6
3. Remove the nuts and washers from the motor
mounting studs.
4. Place the motor on to the studs, with the pulley
through the hole in the casing. DO NOT replace
the nuts or washers at this point.
5. Open the front cover by unscrewing the upper and
lower securing knobs.
IMPORTANT:
Take great care from this point to avoid any
contact with the saw blade. Remember that
carelessness can cause severe personal injury.
6. Behind the lower wheel, hangs a drive belt.
Carefully, so as to avoid
the saw blade and also not to trap
your fingers, arrange it so that it is
OFF the pulley, and around the
shaft ie. BEHIND the large pulley.
7. Fit the belt over the motor
pulley (lifting the motor with
pulley slightly,gives
adequate clearance).
8. Carefully fit the belt to the
larger lower wheel pulley.
Sufficient slack is provided
by moving the motor on its'
elongated mounting holes.
9. Replace the washers and
nuts on to the motor
mounting studs, and move
the motor on its mountings
so that tension is applied to the belt.
Belt tension is correct when the belt can be moved
1/2" either side of the centre line, in the middle of
its run, using moderate thumb pressure.
Tighten the motor mounting nuts firmly.
C. THE TABLE
1. CBS12WC
The table is shipped with the trunnions, tapered pin
and table insert attached. Before installing, remove
the taper pin, loosen the hex. head screws securing
the trunnions to the under side of the table, and tap
out the table insert.
1. Raise the Upper Guide
Block and Blade Guard
assembly, and secure
it at the top of its' travel
with knob B, fig.1.
2. Carefully guide the saw
blade through the table
slot from the front, as
shown in fig.4.
Casing
Lower
Wheel
Fig. 4
