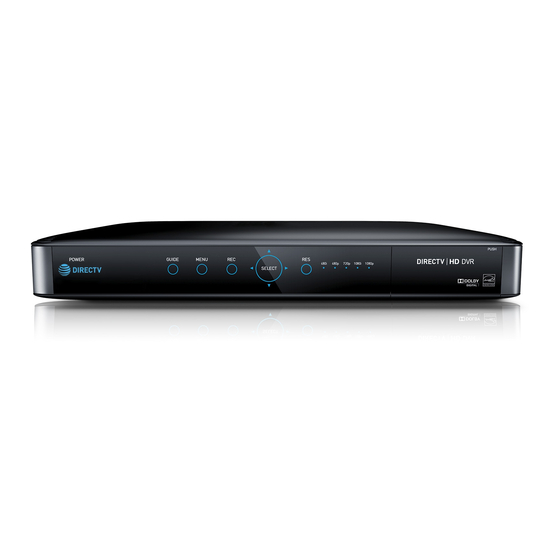
DirecTV Genie Посібник користувача - Сторінка 5
Переглянути онлайн або завантажити pdf Посібник користувача для ВІДЕОРЕЄСТРАТОР DirecTV Genie. DirecTV Genie 7 сторінок.
Також для DirecTV Genie: Посібник користувача (2 сторінок)

8
Step 4:
Continued
Option 2: Using RCA
(Component) Cables
This option supports HD video and audio. You will
need an S-Video-to-RCA cable to connect the
Genie® Mini using component cables.
1
Locate the A/V out port on the back of the
Genie® Mini and plug the appropriate end of the
S-Video cable into the A/V out port. Plug the
other ends of the cable into the corresponding
input ports on the back of your TV.
2
Connect your Genie® Mini to
power by plugging the power
cord into the Genie® Mini then
into your wall outlet. Power on
the Genie® Mini and TV.
Make sure the notifi cation LED on the Genie® Mini(s) is
green. This signifi es that it is connected to the Genie®.
If the light is orange and fl ashing, then check all of the
cables to ensure they are connected correctly.
Troubleshooting Genie® Mini
If, after checking the cables, the Genie® Mini
notifi cation LED is still not green, you may have to add
the Genie® Mini to your Genie® Whole-Home HD DVR
settings. Follow the steps below to add the Genie® Mini
to your Genie® Whole-Home HD DVR settings:
Go to the Genie® HD DVR to begin the
1
ADD A CLIENT guided setup.
On your remote, press MENU, select
2
SETTINGS & HELP > SETTINGS > WHOLE-HOME
> MANAGE CLIENT > ADD CLIENTS.
3
Note the PIN that displays on the screen—you will
need to enter the PIN on your Genie® Mini at its
location. Leave the Genie® HD DVR on this screen
until the setup of the Genie® Mini is complete.
4
Return to the location where you set up your
Genie® Mini.
5
Using your remote, enter the PIN you noted in
Step 3.
Select ADD A NEW LOCATION. Enter a custom
6
name for the location and select SAVE NAME.
A confi rmation message will appear. Select OK.
7
Return to the Genie® HD DVR and select DONE on
8
the ADD A CLIENT screen.
Follow the guided setup screens on the TV(s) connected
to the Genie® Mini(s). Take note of the Receiver ID for the
Genie® Mini(s). You will need the Receiver ID for activation.
Step 5:
Activate your DIRECTV® Service
With the DIRECTV Pre-Loaded system, you can choose
from a variety of digital programming. DIRECTV
Pre-Loaded properties include a base programming
service. Your DIRECTV Authorized Dealer can give you
more information on the programming that is provided
to you as a resident at this property.
To activate your DIRECTV® service, you will need to
call your DIRECTV Authorized Dealer. Your property
manager will have your DIRECTV Authorized Dealer's
contact information. Your dealer will help you
determine which additional programming and services
best fi t your needs so you can fully customize your
DIRECTV experience.
Would you like to have access to more channels than what your base programming service o ers?
Your DIRECTV Authorized Dealer can upgrade your services to include additional programming.
Would you like to enjoy premium channels like HBO® or SHOWTIME ® ?
Your DIRECTV Authorized Dealer will o er you the option of adding DIRECTV premium packages that include
premium channels like HBO® , SHOWTIME ® , and many others
Are you a sports fan?
Your DIRECTV Authorized Dealer will help you explore premium sports packages that will ensure that you don't
miss out on your favorite sporting events.
Complete Genie® Setup
After you have activated your DIRECTV® Service
with your Authorized Dealer, a download screen will
appear and the Genie® will complete its download. It is
important not to turn o or unplug the receiver during
this process, which can take 3-30 minutes. Once the
download has fi nished, there will be a COMPLETE
button, which you will need to select by using the
SELECT button on the remote.
9
