CTM LYNG 5648534 Інструкція з монтажу та експлуатації - Сторінка 2
Переглянути онлайн або завантажити pdf Інструкція з монтажу та експлуатації для Таймер CTM LYNG 5648534. CTM LYNG 5648534 2 сторінки. Wireless timer
USER INFORMATION
The Timer is a security product from CTM Lyng AS.
The timer controls the power supply to sockets it is
paired with, and where appropriate, the water
supply to the dwelling, individual rooms and
relevant consumer electronics/
appliances.
Compatible with newer
"R" / "Radio" products, e.g.:
•
mKomfy cooker guards
•
Mstikk sockets
•
Aqua Xpress valve drivers
The system is flexible, and can
be expanded to accommodate
different needs and security levels.
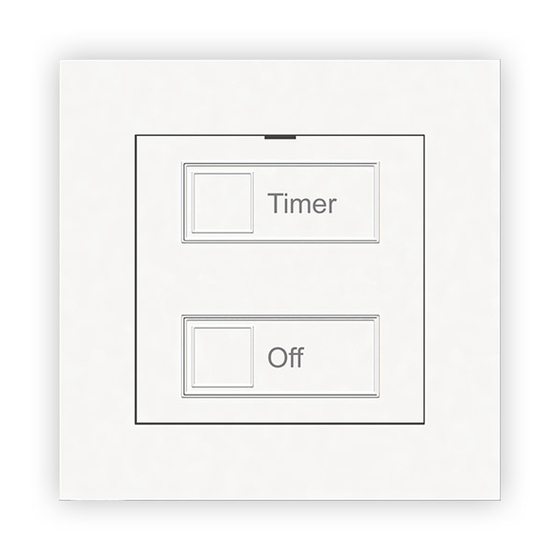
TIMER FUNCTION
If several timers are used with the same socket/
valve, it is always the longest time that counts.
Example: The timer is set to 1 hour and is
activated. Someone goes into the bathroom and
this is detected by the motion sensor. It is set
to 5 minutes. The valve will not close for 1 hour
because of the timer, however.
If the timer is installed together with an On/Off
switch, it is important to be aware that paired
products will remain on/open until activated by the
On/Off switch.
For the products to work on the timer again, the timer
must be operated after the On/Off switch has
been used.
This problem can be solved by activating the lock
function for the timer, set DIP3=ON (see page 5).
Then only the timer will be able to turn on or open
paired products. NB: Interoperability with motion
sensors will not be possible when the lock function
is activated.
2
EVERYDAY USE
The timer ensures that power, or water, is only
supplied to connected units for the required
period. The operating period can be extended
with a quick press of the button, which will
restart the time.
Start countdown
Look for products
labelled "v2"
CHANGING THE BATTERY
The battery (CR2032) will need changing
approximately every 5 years in normal use.
Back of timer
Cancel
1. Lever the front off with
a small screwdriver.
2. Slide the old battery out
and insert a new one.
3
PAIRING
1.
Activate pairing mode in the product that
is to be paired with the timer.
2.
To send a pairing signal from the timer,
briefly press SW4 on the back of the timer.
3.
Test whether pairing has been successful
by operating the timer.
Back of timer
SW4
TESTING COMMUNICATION
To test communication between the timer and
socket/valve driver, briefly press the button on
the timer.
The blue radio communication LED in the socket/
valve driver will flash to acknowledge every press
of the button.
4