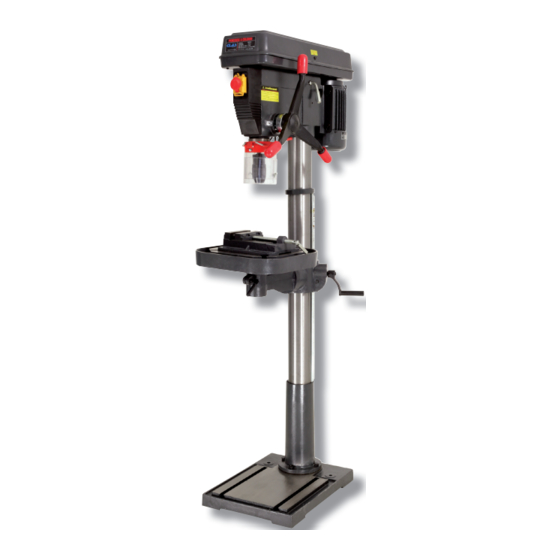
CLAS EG 0332 Посібник - Сторінка 11
Переглянути онлайн або завантажити pdf Посібник для Сервісне обладнання CLAS EG 0332. CLAS EG 0332 16 сторінок.

EG 0333
DRILL Ømax 32mm 1100W 220V + VICE
7. Install the arbor and chuck:
• Insert arbor into spindle rst. Pull feeding handle down to press arbor inward.
• Open chuck jaws completely by turning attached chuck key counter clockwise to the end.
• Put a piece of scrap wood on the table to protect chuck nose.
• Install chuck to the arbor tightly.
8. Install knob and screw of upper pulley cover.
ADJUSTEMENTS
1. Table adjustment:
• Height
To adjust up or down, loosen the clamp bolt then adjust the table to your desired position by swing the table
bracket handle.
• Tilting adjustment
Loosen the table bevel lock bolt with adjustable wrench. Tilt table to desired angle.
• Swing 360°
Loosen clamp bolt, swing the table to appropriate position and retighten clamp bolt.
2. Feed depth adjustment:
• Depth control stud type:
Lower spindle assembly to desired depth and spin down nut. If nut moves due to vibration, spin down the 2nd nut
and lock in position by holding the lower nut and tighten the upper nut.
• Depth control scale sleeve type:
Loosen the clamp bolt and move to the desired depth then retighten the clamp bolt.
3. Speed adjustment:
• Choose speed for drilling operation and move belt to correct position for desired speed.
• Push motor backward until moderate belt tension is obtained. Then retighten the lock handle again.
4. Belt tension adjustment:
For proper tension, use 10lbs pressure, or hand pressure on the belt.
The correct distance is ½" (13mm) +10%.
5. Quill spring ajustment:
1. Move the stop nuts to lowest position and lock in place with wrench to prevent quill dropping while tensioning
spring.
2. Place screwdriver in lower front notch of spring cap and hold it in place while loosening and removing nuts.
3. Carefully turn screwdriver counter clockwise and engage the notch.
4. Tighten inner nut with wrench. Do not overtighten as this will restrict quill removal.
5. Move stop nuts to uppest position and check tension while turning feed handle. If there is not enough tension
on spring, repeat steps 2-4.
6. Check quill while feeding to be smooth and unrestricted movement. If movement is too tight, slightly loosen
nuts until unrestricted.
