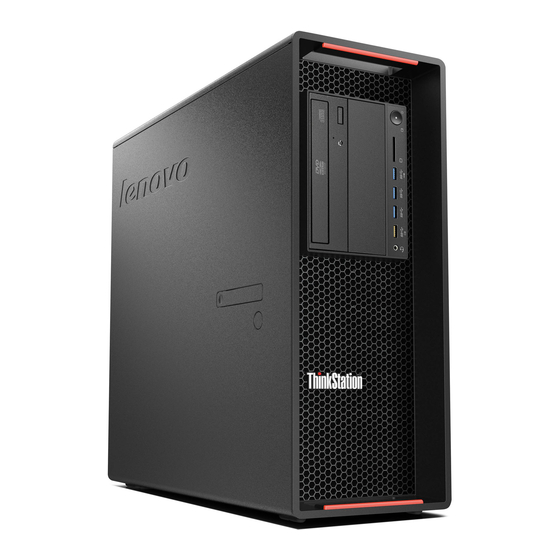
Lenovo ThinkStation P900 Конфігурація обладнання - Сторінка 7
Переглянути онлайн або завантажити pdf Конфігурація обладнання для Робочий стіл Lenovo ThinkStation P900. Lenovo ThinkStation P900 35 сторінок. How to create and
configure raid arrays
Також для Lenovo ThinkStation P900: Посібник з конфігурації (49 сторінок), Посібник з безпеки, гарантії та налаштування (2 сторінок)

3. How to Utilize the Onboard Intel S-SATA Controller
P900/P910
In the P900 system, drives are always connected through the use of Blind Connect Assemblies (BCA).
When using the onboard Intel S-SATA controller, up to two drives can be connected per BCA. This gives
P900 support for up to 4 drives with the onboard Intel S-SATA controller via two BCA. When the BCA is
connected to the controller, LEDs will illuminate on the BCA to show which port(s) are active, and the
drive type supported by that port (see 'Technical Glossary' for diagram).
1.
Ensure that the S/X cable of the BCA is connected to the mini-SAS HD connector on the
motherboard. For the lower BCA (bays 1 and 2), the S/X cable of the BCA attaches to the SATA
1-2 port on the motherboard. For the upper BCA (bays 3 and 4), the S/X cable of the BCA
attaches to the SATA 3-4 port on the motherboard.
2. With AC power connected and the system off, the BCA will illuminate to show which ports are
active and the drive types supported by each port.
3. Install the SATA drive into the FLEX Tray in a manner such that the drive connectors for power
and data align correctly with the port on the BCA. Note that the FLEX Tray can be rotated 180
degrees to allow for the correct connection.
4. Align the FLEX Tray with the SATA drive and insert it into the bay making sure that the drive is
connecting to an active port. Insert the FLEX Tray fully, and push the pull-bar feature so that it is
flush with the bay.
