Nikon D200 Посібник з експлуатації - Сторінка 7

Переглянути онлайн або завантажити pdf Посібник з експлуатації для Об'єктив камери Nikon D200. Nikon D200 23 сторінки. Exploring
Також для Nikon D200: Брошура та технічні характеристики (13 сторінок), Брошура (7 сторінок), Посібник з налаштування (2 сторінок), Брошура та технічні характеристики (18 сторінок), Брошура (14 сторінок), Технічні характеристики (2 сторінок), Характеристики та порівняльна таблиця (1 сторінок), Посібник користувача (19 сторінок), Технічні характеристики (2 сторінок), Посібник із швидкого старту (2 сторінок), Посібник (25 сторінок), Посібник із швидкого старту (9 сторінок)
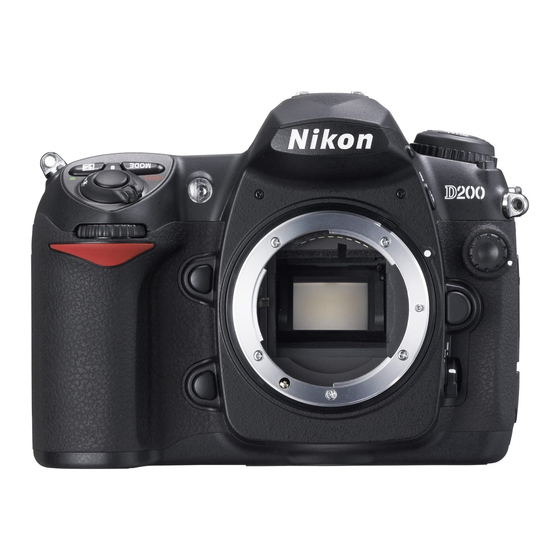
Nikon D200 Посібник з експлуатації
Delete Button
Photo View
Button
Menu
Button
Take a test photo (adjust zoom as appropriate)
Check the photo
Delete the photo you just took
The display should now show "Folder Contains No Images"
Synchronize the Camera Clock with GPS Time
All times used during an aerial photography mission are to be in Universal Coordinated
Time (UCT) which is also referred to as Zulu time. This is the time at zero longitude.
The Garmin etrex GPS will already be setup to show UCT time unless someone has
changed it to local time. On the east coast of the US, local time is 5 hours earlier than
UCT during winter months and 4 hours earlier during daylight savings time. Therefore,
the time shown on the GPS should be later than local time by either 4 or 5 hours.
The camera will show the time zone as London, Casablanca UTC 0. See next page.
Synchronize the camera and etrex times as follows:
Press the push button to the upper left of the display screen [the one with
the right arrow inside of an outlined box] to view the photo. It should look
good.
Press the button that has a trash can icon on it [camera back upper left]
Press the trash can icon button a second time to do the delete
7
Cursor
Control