Nikon D200 Посібник - Сторінка 11

Переглянути онлайн або завантажити pdf Посібник для Об'єктив камери Nikon D200. Nikon D200 25 сторінок. Exploring
Також для Nikon D200: Брошура та технічні характеристики (13 сторінок), Брошура (7 сторінок), Посібник з налаштування (2 сторінок), Брошура та технічні характеристики (18 сторінок), Брошура (14 сторінок), Технічні характеристики (2 сторінок), Характеристики та порівняльна таблиця (1 сторінок), Посібник користувача (19 сторінок), Технічні характеристики (2 сторінок), Посібник з експлуатації (23 сторінок), Посібник із швидкого старту (2 сторінок), Посібник із швидкого старту (9 сторінок)
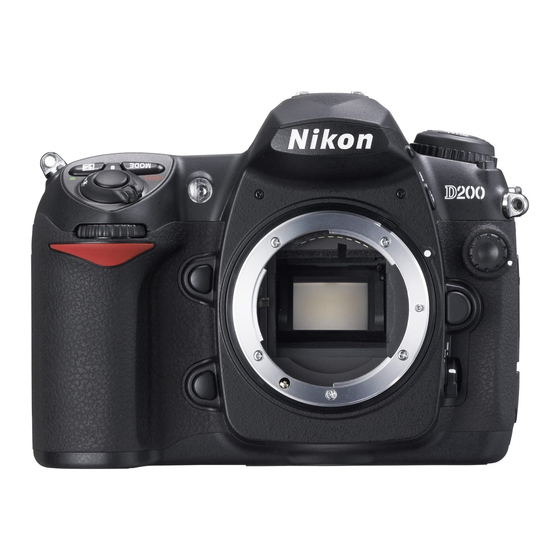
Nikon D200 Посібник

On the Back

The back panel of the Nikon D200 is stud-
ded with more than fifteen controls, many
of which serve more than one function.
Where other cameras can force you to
access a menu to make many basic settings,
with the D200, just press the appropriate
button, turn the command dial or use the
multi-selector, and make the adjustment
you want. I've divided this crowded back
panel into four color-coded sections.
1.9
Key components on the back panel of
the D200.

Upper left

The upper-left corner of the back panel
includes just two buttons:
Bracketing (BKT) button. Hold
the bracketing button while spin-
ning the main command dial (to
select the bracketing function) and
the sub-command dial (to choose
the type of bracketing to be
applied).
Delete/Format #2. To erase the
image shown on the LCD, press
this button, and press a second
time to respond to the "Delete.
Yes?" prompt. This button also
Chapter 1
Exploring the Nikon D200
serves as the Format #2 button to
reformat a memory card when you
hold it down for a few seconds
simultaneously with the Mode/
Format #1 button.
1.10
Key components on the upper-left
corner of the back panel of the D200.

Upper right

A few important controls are located on the
upper-right corner of the D200. They
include:
Viewfinder eyepiece. The rubber
eyecup shields the viewfinder from
extraneous light, much like a lens
hood — a necessary component
because light entering the
viewfinder can affect the exposure
meter. The eyecup is removable
and can be replaced by a cap to
block that extra light when you use
the camera on a tripod.
Diopter adjustment control.
Rotate this knob to adjust the
diopter correction for your eyesight.
Metering mode dial. Rotate this
dial to select among center-
weighted, matrix, and spot meter-
ing options.
Bracket
Delete/Format #2
21