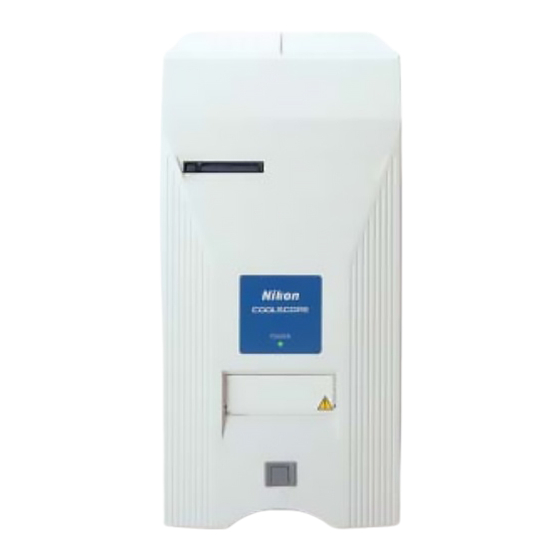
Nikon coolscope Посібник із швидкого старту - Сторінка 5
Переглянути онлайн або завантажити pdf Посібник із швидкого старту для Мікроскоп Nikon coolscope. Nikon coolscope 5 сторінок. Digital microscope

S
P
HUTDOWN
It is very important to make sure all of the motorized and mechanical components
of the COOLSCOPE are properly secured prior to transport or shipment. The
instruction manual is a little confusing as to the proper sequence to shut down
the unit to ensure that all the components realign themselves to properly secure
the FOUR transport screws. Below is a sequence that works in all cases.
1. Shutdown the unit after removing the glass slide, using the shutdown and
slide tray buttons on the panel. You will be prompted to remove the slide
when clicking on the POWER OFF button and prompted again when you
close the slide tray following slide removal. The unit will then shut down.
2. Turn OFF the main power switch at the rear of the Coolscope main unit.
3. Turn ON the main power switch at the rear of the unit.
4. Turn ON the unit by pressing the GREEN BUTTON on the lower right side
of the Coolscope. Wait until the unit boots, which takes about 10 seconds.
During this process the mechanical components will line up to the shipping
bolts.
5. Then finally turn OFF the Main power switch on the rear of the Coolscope.
DO NOT touch any other controls.
6. Remove the power cord and the panel on the right side of the main unit.
Retighten the FOUR shipping screws. Do not over tighten the two screws
on the bottom of the case behind the two plastic caps, but they do need to
be secure. See page 7 and 8 of the instruction manual for the location of
these bolts.
ROCEDURE FOR
COOLSCOPE
T
RANSPORT AND
S
HIPMENT OF
