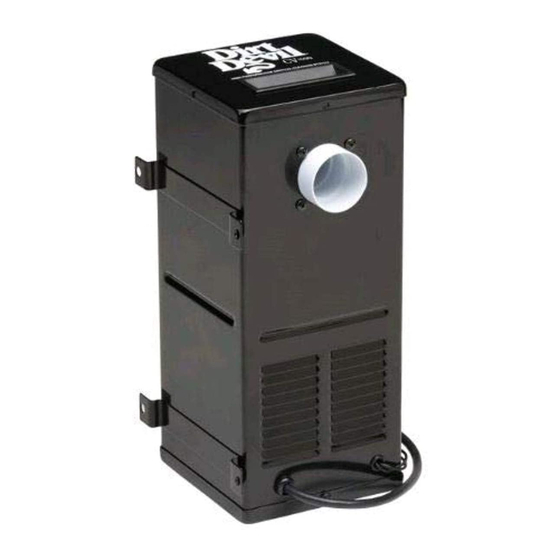
Dirt Devil CV1500 Посібник користувача - Сторінка 8
Переглянути онлайн або завантажити pdf Посібник користувача для Пилосос Dirt Devil CV1500. Dirt Devil CV1500 13 сторінок. Central vacuum systems
Також для Dirt Devil CV1500: Посібник зі швидкого встановлення (2 сторінок)

OPERATING INSTRUCTIONS
VacPanII can be used as both an automatic dustpan and a standard hose inlet.
For automatic dustpan operation, slide top cover up, creating a sweep opening and
automatically switching on central vacuum system. Sweep material into opening. When
complete, slide top cover down, automatically shutting off central vacuum system.
For Standard Hose Inlet operation, ensure top cover is in fully lowered position. Grasp
side finger grips in top cover and flip top cover up. The top cover will lock out of the way.
Lift sprung flapper door open and insert central vacuum hose. Use your central vacuum
hose as you would with any other standard inlet valve.
INSTALLATION INSTRUCTIONS
1. VacPanII Wall Mount can be installed inside any wall with a minimum stud width
of 2-3/4".
2. VacPanII should be located against wall stud.
3. Once the VacPanII location is determined and prior to applying the wallboard,
attach Standard Mounting Bracket to the wall stud so that the center of the
mounting plate is 4" above the subfloor.
4. Attach VacPanII base stopper bracket, thereby allowing appropriated space for
final installation.
5. Run vacuum tube piping and low voltage wire from the main line to VacPanII
location and attach to mounting bracket.
6. Snap off two protruding tabs of VacPanII base stopper bracket and discard.
7. Align VacPanII with mounting bracket. Height adjustment may be required
depending on finished floor.
8. For VacPanII height adjustment: The body can be shortened by scoring along
Quick-Trim Grooves on back of body. The two-piece front cover can be adjusted
for height by twisting apart and engaging the mating teeth of the two parts. The
VacPanII entrance ramp can be slid on mating body grooves.
9. Attach low voltage wires to VacPanII terminal connections.
10. Slide VacPanII into mounting bracket and secure to wall using two #10 x 1-1/2"
screws provided. CAUTION: Do not over-tighten mounting screws as VacPanII
operation can be affected.
VACPAN
VACPAN
7
II
™
II
™
