Blade Blade 180QX HD Інструкція з експлуатації - Сторінка 13
Переглянути онлайн або завантажити pdf Інструкція з експлуатації для Квадрокоптери Blade Blade 180QX HD. Blade Blade 180QX HD 20 сторінок.
Також для Blade Blade 180QX HD: Інструкція з експлуатації (20 сторінок)
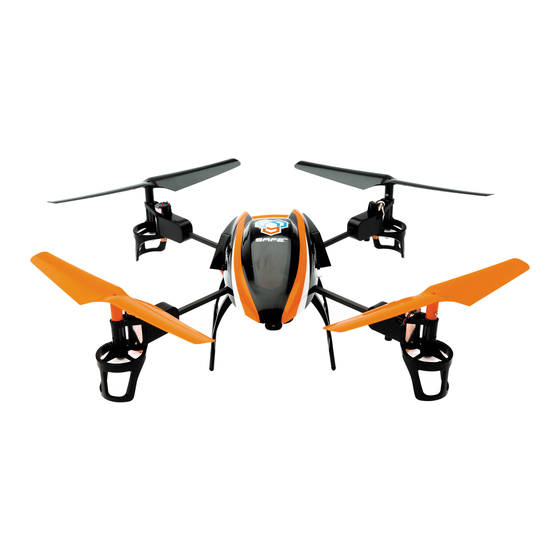
Flying the 180 QX HD
Takeoff
Increase the throttle until the model is approximately 2 ft. (600mm) off the ground and check the trim so the model
fl ies as desired. Once the trim is adjusted, begin fl ying the model.
Typical fl ight times for the included battery range from 5 to 10 minutes.
Low Voltage Cutoff (LVC)
LVC decreases the power to the motors when the battery voltage gets low. When the motor power decreases and the
blue and red LEDs on the 5-in-1 unit are solid, land the aircraft immediately and recharge the fl ight battery.
LVC does not prevent the battery from over-discharge during storage.
NOTICE: Repeated fl ying to LVC will damage the battery.
Landing
To land, slowly decrease the throttle while in a low-level hover. After landing, disconnect and remove the battery from
the aircraft after use to prevent trickle discharge. Fully charge your battery before storing it. During storage, make sure
the battery charge does not fall below 3V per cell.
Post-Flight Inspection and Maintenance Checklist
√
Make sure the battery is not connected before cleaning. Remove dust and debris with a soft brush or
Cleaning
a dry, lint-free cloth.
Motors
Replace the motor when the model will not fl y steady or veers off when doing a climb out.
Wiring
Make sure the wiring does not block moving parts. Replace damaged wiring and loose connectors.
Make sure there are no loose screws, other fasteners or connectors. Do not over-tighten metal
Fasteners
screws in plastic parts. Tighten screws so the parts are mated together, then turn the screw only
1/8th of a turn more.
Make sure there is no damage to the propellers or other parts that move at high speed. Damage to
Propellers
these parts includes cracks, burrs, chips or scratches. Replace damaged parts before fl ying.
Operating the Camera
Charging
1. Connect the included USB cable to the USB port on a
compatible power source.
2. Connect the other end of the USB cable to the camera.
3. The red LED will glow solid.
4. When charging is complete, the red LED will turn off
and the blue LED will glow solid.
5. Disconnect the USB cable from the USB power source
and the camera.
When the camera battery is low, the red LED will blink.
Positionable lense
LED
Power
button
Micro USB
port
Servo lead port
13
Start/Stop
button
Micro SD
card slot
Mode
button
EN