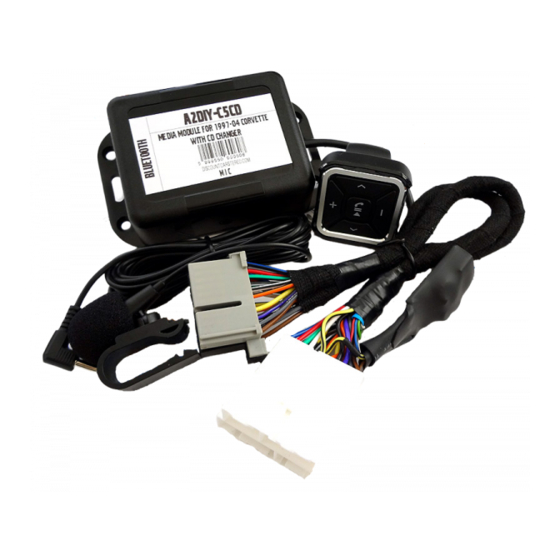
Discount Car Stereo A2DIY-C5CD Посібник зі швидкого встановлення - Сторінка 3
Переглянути онлайн або завантажити pdf Посібник зі швидкого встановлення для Автомобільний приймач Discount Car Stereo A2DIY-C5CD. Discount Car Stereo A2DIY-C5CD 10 сторінок. Bluetooth kit for 1994-07 corvette
Також для Discount Car Stereo A2DIY-C5CD: Посібник з монтажу (10 сторінок), Посібник зі швидкого встановлення (10 сторінок)

3. Connect installation harness 20-pin plug (black/gray) (See Fig. 3) to
radio 20-pin connector (See Fig. 1)
Trunk/hatch mounted 12-disc changer
Playback options:
(select during checkout)
Warning:
Regardless of playback option selected, a functioning 12-
disc changer in trunk or hatch is required, remains connected and
at least one "CD" in magazine
These options are available and selected at checkout:
1. Retain changer playback (default)
2. Auxiliary input (instead of changer playback)
3. Auxiliary input + changer playback (both)
Retain CD changer playback
This is the default option which allows retention (use) of the 12-disc changer
in trunk or hatch and if selected proceed to installation step 4.
AUX input
(instead of 12-disc changer playback)
This option allows users to connect and play a portable audio device (e.g.,
sat radio, Alexa, iPod, Mp3 etc.) forfeiting 12-disc changer playback,
WARNING: Required 12-disc CD changer remains connected but will no
longer play. (At least one disc must be loaded to magazine)
:
:
1.
Connect included 3.5mm audio cable (See Fig. 4) to "AUX" jack (See
Fig. 5)
2. Route audio cable plug to audio device location (within 3 ft.)
3.
Proceed to installation step 4.
AUX Jack+ changer playback
Selecting this option allows for AUX input and 12-disc changer playback.
Route AUX jack (See Fig. 5) to glove box, dash area etc. within 3 ft.
1.
2. Drill a ¼" hole in dash or panel and secure jack with included nut or
leave freestanding (your choice)
3. Use included 3.5mm audio cable (See Fig.4) to connect AUX device
(e.g., MP3 player) to AUX Jack (See Fig.5)
4. Proceed to installation step 4
Fig. 4
3.5male to male audio cable
Fig. 5
Attach microphone mounting bracket to headliner, sun visor etc.; (See
4.
Fig. 6) route cable down pillar, under dashboard and into radio cavity.
Connect microphone plug to module "MIC" input.
5.
