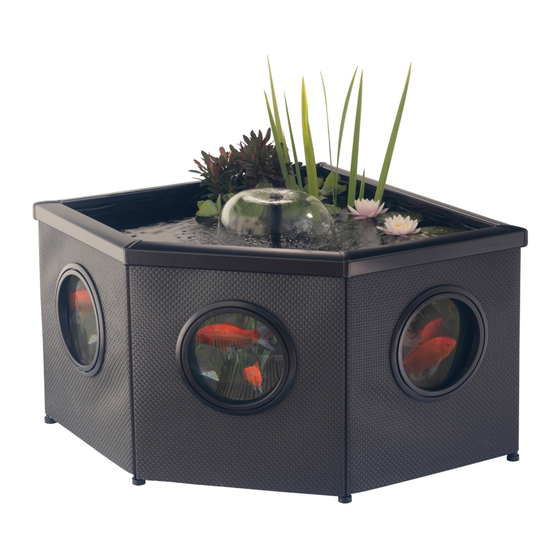
Blagdon Affinity mocha corner Інструкція - Сторінка 3
Переглянути онлайн або завантажити pdf Інструкція для Басейн Blagdon Affinity mocha corner. Blagdon Affinity mocha corner 4 сторінки.

Step 9
Insert the A panels (without windows) across the
legs on the A rails.
1
2
Step 10
Slide the A panels (without windows) into the
slots on the legs of the A and B rails.
1
2
Step 11
Slide the B panels (with windows) into the slots
on the legs of the C rails.
Tip: To make installation of the leg cross
braces easier, allow the weave panels to
warm up prior to use - place in direct sunlight
for 20-30 minutes, or place them in an airing
cupboard overnight if building the pool during
the winter.
Step 12
Slide the C panel (with window) into the slots
on the legs of the D rail – ensure that all panels
are pulled down to the top rails.
Step 13
Insert the leg cross braces labelled A across the
gaps between the legs of the A rails – lock in
place with the keys.
Step 14
Insert the leg cross braces labelled B across the
gaps between the legs of the B rails – lock in
place with the keys.
Step 15
Push the supplied feet onto the bottom of the
legs.
B
1
B
2
Step 16
Using the strengthening wire, hook a loop over
the foot of one of the 90
o
legs holding an A
and B rail. Draw it across to the opposite 90
o
B
B
leg, and hook the other loop over the foot.
B
Step 17
Between two people turn the frame over.
Step 18
Place the liner bag inside the frame and open
it up – turn the liner to align the clear windows
with the portholes on the weave panels.
Step 19
Insert this way
Working around the liner hook the eyelets onto
the hooks on the trident connectors.
1
2
Step 20
Using plant basket fixing pins, pin up the rest
of the liner eyelets onto the vertical face of the
top rails.
Step 21
Using the plant basket fixing pins attach the
plant baskets to the underside of the top rail.
Step 22
Place the Inpond filter into the pool and run the
cables out of the back corner.
A
FOUNTAIN INSTALLATION
Step 23
Attach the fountain fittings with your chosen
fountain head to the Inpond following the
instructions in the Inpond manual, fill the pond
with dechlorinated water, turn on the power
and enjoy.
OR WATERFALL INSTALLATION:
Step 24
Attach the waterfall bracket to the waterfall
clips.
Step 25
Clip the waterfall bracket onto the top rail
across the back corner (ensuring the cables
for the filter are in between the clips. Attach the
supplied waterfall.
1
2
Step 26
Connect the waterfall hose to the Inpond
outlet, fill the pond with dechlorinated water
and enjoy.
Tip: Use the flat face of the provided tool to
make it easier to push in the plant fixing pins.
3
