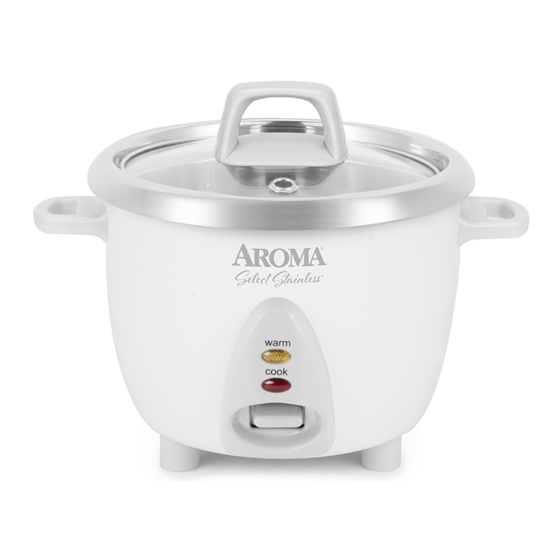
Aroma ARC-753SGB Інструкція з експлуатації - Сторінка 5
Переглянути онлайн або завантажити pdf Інструкція з експлуатації для Рисоварка Aroma ARC-753SGB. Aroma ARC-753SGB 9 сторінок. Rice & grain cooker
Також для Aroma ARC-753SGB: Інструкція з експлуатації (9 сторінок)

Grain & Water
Measurement Tables (
Brown Rice Measurement Table
UNCOOKED
WATER WITH RICE
RICE
MEASURING CUP*
1 Cup
1¾ Cups
2 Cups
3 Cups
Grain Measurement Table
UNCOOKED
GRAIN
GRAIN AMOUNT
Quinoa
1 Cup
Pearl Barley
1 Cup
Kamut
1 Cup
Amaranth
1 Cup
Rye
1 Cup
Millet
¾ Cup
Bulgur
1 Cup
*1 Rice Cooker Cup = ¾ US Cup
Note:
· Brown rice takes longer to cook and requires more water than white rice due to the
extra bran layers on the grains. The water lines in the inner pot are meant for white
rice only. Please see the chart above for brown rice and grain water ratios.
· Brown rice, wild rice and rice mixes vary in their make-up. Some variations may
require longer cooking times and/or additional water in order to achieve optimum
results. Refer to the individual package instructions for cooking suggestions.
· The measuring cup included adheres to rice industry standards (180mL) and is not
equal to one U.S. cup. The chart above refers to cups of rice/water according to the
measuring cup provided.
· Do not place more than 3 cups of uncooked rice (2 cups if brown rice) into this
appliance at one time. The maximum capacity of this unit is 3 cups raw rice (2 cups
if brown rice) which yields 6 cups of cooked rice (4 cups brown rice).
8.
)
CONT.
APPROX.
COOKING
COOKED
TIMES
RICE YIELD
2 Cups
40-45 Min.
4 Cups
45-50 Min.
WATER WITH RICE
APPROXIMATE
MEASURING CUP*
COOKED GRAIN YIELD
2 Cups
3 Cups
3 Cups
4 Cups
3 Cups
3 Cups
3 Cups
2 Cups
3 Cups
2 Cups
2 Cups
3 Cups
2 Cups
2 Cups
Cooking Soup,
Chili, or Stew
1. Add ingredients to the Stainless Steel Inner Pot.
2. Place the Stainless Steel Inner Pot into the rice
cooker.
3. Place the Tempered Glass Lid securely onto the
rice cooker.
4. Plug the power cord into an available 120V AC
wall outlet.
5. Place the Tempered Glass Lid securely onto the
rice cooker.
6. Plug the power cord into an available 120V AC
wall outlet.
7. Press the Cook switch down to begin cooking.
The Cook indicator light will illuminate as the
rice cooker begins cooking.
8. Using caution to avoid escaping steam, remove
the lid and stir occasionally with a long-
handled wooden spatula.
9. Once food is fully cooked, push the Cook switch
up to switch the rice cooker to Warm.
10. When finished serving, turn the rice cooker off
by unplugging the power cord.
Caution:
Do not use the provided
serving spatula to stir
hot soup, chili, or stew.
It is not intended to be
used in contact with high
temperatures. Use a
long-handled wooden
or heat-safe spoon to
stir food while sautéing.
Note:
· Before placing the inner
pot into the cooker,
check that the inner pot
is dry and free of debris.
Adding the inner pot
when wet may damage
the cooker.
· Food should not be left
in the cooker on Warm
for more than 12 hours.
9.
