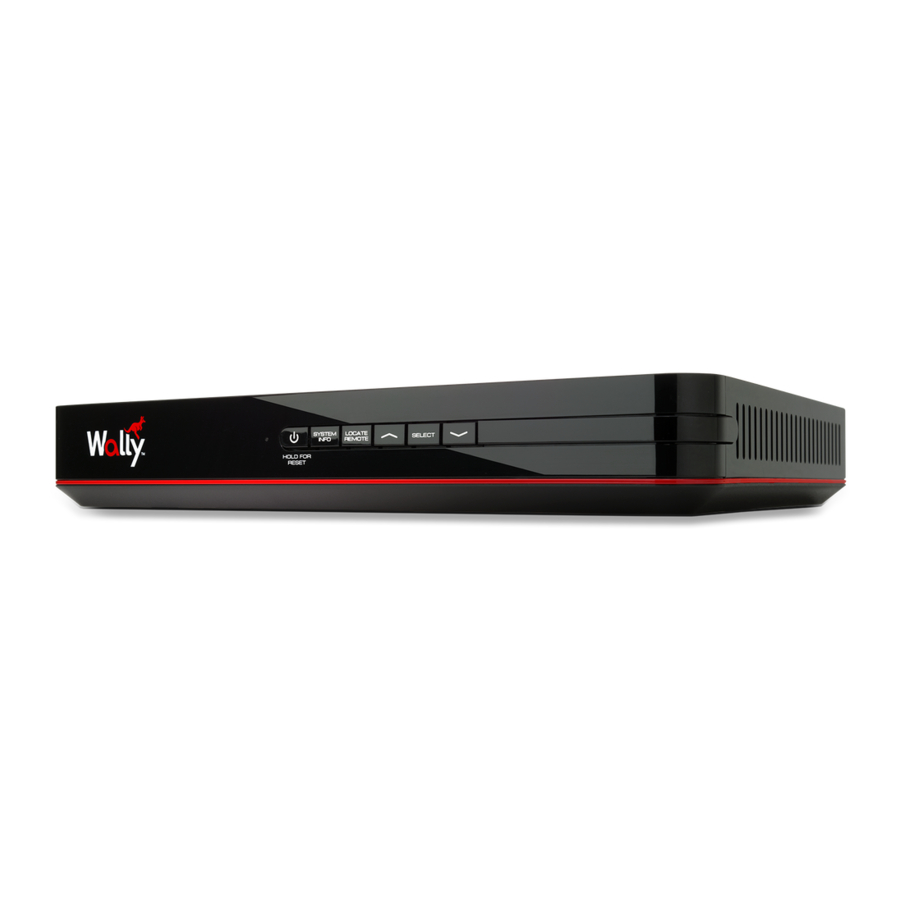
Dish Network WALLY Посібник з налаштування - Сторінка 7
Переглянути онлайн або завантажити pdf Посібник з налаштування для Телевізійний приймач Dish Network WALLY. Dish Network WALLY 17 сторінок. Single-tuner hd satellite receiver
Також для Dish Network WALLY: Посібник користувача (16 сторінок), Налаштування (20 сторінок), Посібник користувача (2 сторінок)

- 1. Labeling Your Cables
- 2. Disconnecting Your Cables
- 3. Connecting the Cables to Your Replacement Receiver
- 4. Powering Your Equipment
- 5. Acquiring a Satellite Signal
- 6. Downloading Your Wally Software
- 7. Pairing Your Remote Control and Setting Your Wally Location
- 8. Setting Your TV Configuration
- 9. Testing Your Hopper Connectivity to the Internet
- 10. Activating Your Wally
- 11. Returning Your Original Receiver
5. Acquiring a Satellite Signal
a. Wait while the satellite signals are
acquired. Once complete, the
system will proceed to the next step
automatically.
b.
If you see red "Xs" in the installation
test box, make sure your "Home Video
Network" cable is connected to your
receiver and wall correctly. Then use
the arrow buttons on your remote
control to highlight "Retest
Installation," and press SELECT.
