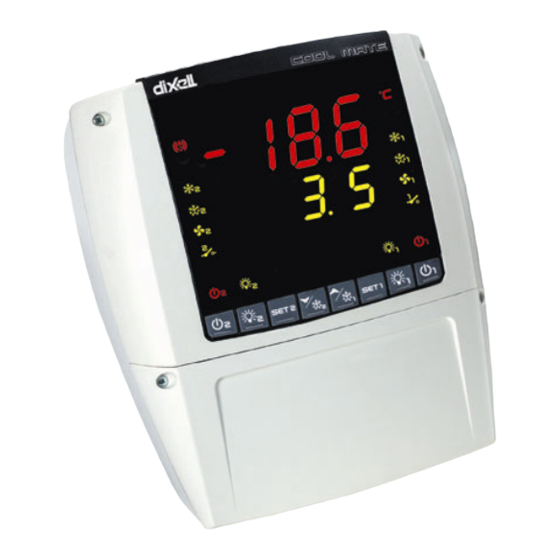
dixell COOL MATE XLR470 Посібник з експлуатації - Сторінка 13
Переглянути онлайн або завантажити pdf Посібник з експлуатації для Регулятор температури dixell COOL MATE XLR470. dixell COOL MATE XLR470 18 сторінок. Dual temperature controller

dIXEL
dIXEL
dIXEL
dIXEL
1.21 WALL MOUNTING
1.
Unscrew the 4 frontal screws (Fig. 1, A, B, F, G) and remove the cover (Fig. 1, C).
2.
Unscrew the 2 screws (Fig. 1, D, E) that keep connected the frontal and lower parts of Cool Mate and separate the 2 parts.
3.
Make the proper holes for cablepresses or pipepresses using the centres signed in the bottom cover of the Cool Mate, (Fig. 3, H, I, ). Then
make 3 holes in the wall, as indicated in (Fig. 3, L, M, N), to fix the Cool Mate
4.
Fix the cablepresses and the pipepresses..
5.
Insert the wall-nugs, contained in the kit, into the holes made in the wall. Then use the o-rings and fix the back part of the Cool Mate (Fig. 3, L,
M, N) by means of the 3 screws to the wall itself.
6.
Insert the wiring cables in cablepresses or in the pipepresses.
7.
Mount the frontal part using the previous 4 screws Fig. 1, D, E, F, G. (do not press excessively in order to avoid plastic deformation).
8.
After connecting the wires to the terminal blocks close the cover (Fig. 2, c) and fix it by the screws.
1.22 PANEL MOUNTING
1.
Make a hole in the panel with dimensions described in Fig. 4 (simplified) or Fig. 5 (completed)
2.
Unscrew the 4 frontal screws (Fig. 1, A, B, F, G) and remove the cover (Fig. 1, C).
3.
Unscrew the 2 screws (Fig. 1, D, E) that keep connected the frontal and lower parts of Cool Mate and separate the 2 parts.
4.
Cut from the back part of the Cool Mate the teeth indicated in Fig. 6, A.
5.
Make the proper holes for cablepresses or pipepresses using the centres signed in the bottom cover of the Cool Mate, (Fig. 3, H, I, ).
6.
Fix the cablepresses and the pipepresses..
7.
Insert the wiring cables in cablepresses or in the pipepresses.
8.
Join the back and frontal parts, with the panel in the middle, and fix them screwing the 4 screws taken previously away (dimensions 4x35
mm), in the holes of Fig. 1, A, B, D, E. Maximum panel thickness: 6mm.
9.
After connecting the wires to the terminal blocks close the cover (Fig. 2, c) and fix it by the screws.
11.
DIMENSIONS
12.
ELECTRICAL CONNECTIONS
The instruments are provided with screw terminal block to connect cables with a cross section up to 2,5 mm
Before connecting cables make sure the power supply complies with the instrument's requirements. Separate the probe cables from the power
supply cables, from the outputs and the power connections. Do not exceed the maximum current allowed on each relay, in case of heavier loads use
a suitable external relay.
1.23 PROBE CONNECTIONS
The probes shall be mounted with the bulb upwards to prevent damages due to casual liquid infiltration. It is recommended to place the thermostat
probe away from air streams to correctly measure the average room temperature.
13.
HOW TO USE THE HOT KEY
1.24 HOW TO PROGRAM A HOT KEY FROM THE INSTRUMENT (UPLOAD)
1.
Program one controller with the front keypad.
When the controller is ON, insert the "Hot key" and push o
2.
3.
Push "SET" key and the End will stop flashing.
4.
Turn OFF the instrument remove the "Hot Key", then turn it ON again.
NOTE: the "Err" message is displayed for failed programming. In this case push again o
"Hot key" to abort the operation.
1592017050 XLR470 GB r1.0 24.05.07.doc
Operating manual
210
o key; the "uPL" message appears followed a by flashing "End"
o o
o key if you want to restart the upload again or remove the
o o
XLR470
cod. 1592017
cod. 1592
cod. 1592
cod. 1592
87
2
. Heat-resistant cables have to be used.
017050
017
017
050
050
050
13/18
