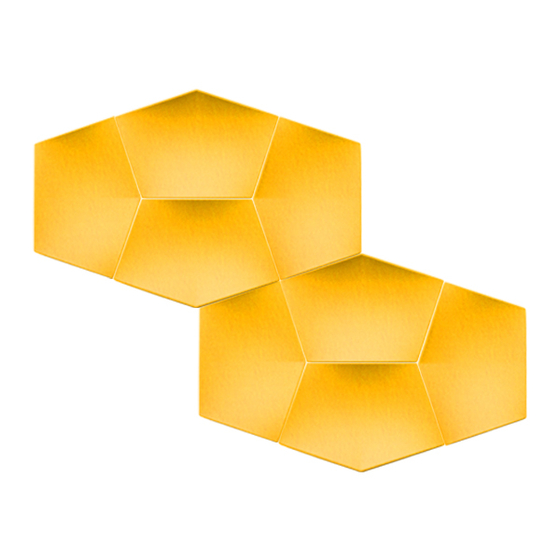
3form Velo Ceiling Tiles Документ рішення - Сторінка 10
Переглянути онлайн або завантажити pdf Документ рішення для Внутрішнє оздоблення приміщень 3form Velo Ceiling Tiles. 3form Velo Ceiling Tiles 11 сторінок.

Velo Ceiling Tiles
Installation
8
Attach Cantilevered Attachment Brackets
a
b
Remove
adhesive
backing.
d
Loop cable through bracket, with the cable position � 10° of vertical. If the
cable can't be set within this range, omit adhesive bracket and drill a hole in
the edge of the tile to create a looped connection.
9
Cut Cables and Glue Ends
For more information, please visit 3-form.com or call 800.726.0126
June 2020 | VeLO | ReV 009 © 2020 3form, Inc. All rights reserved.
tm
Wipe tile clean before applying bracket.
Firmly press for 8-10 seconds to engage
adhesive to Velo Tiles. It is best to wait
1-2 hours before
hanging weight on
this connection to
ensure the best
bond strength
(and 24 hours for
optimal strength).
Solution Document
c
use a screw (3-15-2412) to attach for a better
connection. Screw through adhesive into felt.
Hand tighten and do not strip!
e
Level tiles at edges.
Pull to
raise the
cluster and
increase the
loop size
Pull to
tighten
loop
10
