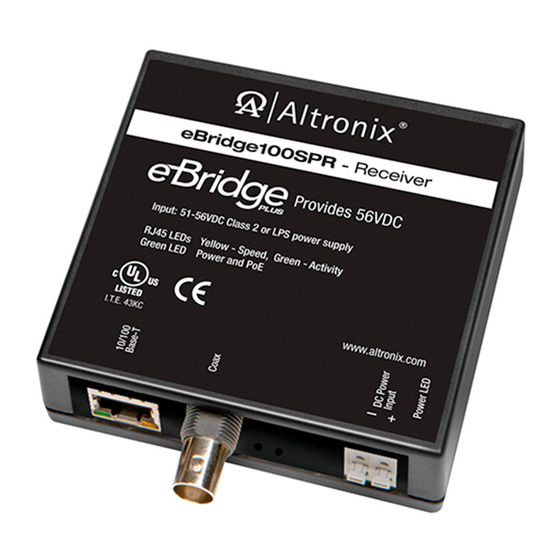
Altronix eBridge100SPR Посібник з монтажу - Сторінка 6
Переглянути онлайн або завантажити pdf Посібник з монтажу для Приймач Altronix eBridge100SPR. Altronix eBridge100SPR 13 сторінок. Ethernet over coax 4-port adapter kit
Також для Altronix eBridge100SPR: Посібник з монтажу (2 сторінок), Посібник з монтажу (8 сторінок)

network administrator and repeat the email setup sets.
After all fields have been programed click the button labeled Reboot Server. A dialog box will display "Please allow up to 30 sec. for server to reboot". Click OK.
All programmed information will be saved after the server has rebooted.
Click on the tab labeled Setup. The eBridge4SPT setup page will open. In this screen the Site ID, Date/Time and Port identification are setup, along with the
ability to enable and disable individual ports.
Site ID (Fig. 3a, pg. 6): Enter a descriptive name that will identify the location of the eBridge4SPT. The Site ID will appear in both the trap message and email
notifications.
Date/Time (Fig. 3b, pg. 6): Time and Date can be entered two different ways manually or by syncing the date and time with the host computer.
Manual setup (Fig. 3b, pg. 6): Individually select the appropriate information for each of the required field then click Update. This will update time of the
eBridge4SPT to the programmed information. The manual setup can be used when programming devices installed in one time zone and monitored in another.
Sync Setup (Fig. 3b, pg. 6): Clicking the button labeled Sync Date/Time with computer will set the eBridge4SPT to the time of the host computer.
Port ID (Fig. 3c, pg. 6): Enter a descriptive name and/or location of the device connected to the port.
Port Status (Fig. 3d, pg. 6): Individual ports can be enabled or disabled by clicking the button labeled Enable Port/Disable Port. This feature allows unused
ports to be disabled and also can be used to reboot a connected device by cycling power OFF and ON.
After all fields have been programmed click on the button labeled Save Settings.
Fig. 3
Status
Setup
Network Settings
eBridge4SPT
a.
Site ID:
RJ Sports Wear
Update Site ID
b.
Trap Receiver Settings:
Jul
15
2015
[
9
Port
1
Main Entrance
2
Production
3
Receiving
4
Shipping
- 6 -
Management Interface
Security Settings
Events Log
:
32
:
53
am
]
Update
c.
Port ID
Save Settings
Setup:
Sync Date/Time with computer
d.
Port Status
Enabled
Disable Port
Enabled
Disable Port
Enabled
Disable Port
Enabled
Disable Port
v1.99.22
Setup
eBridge4SK
